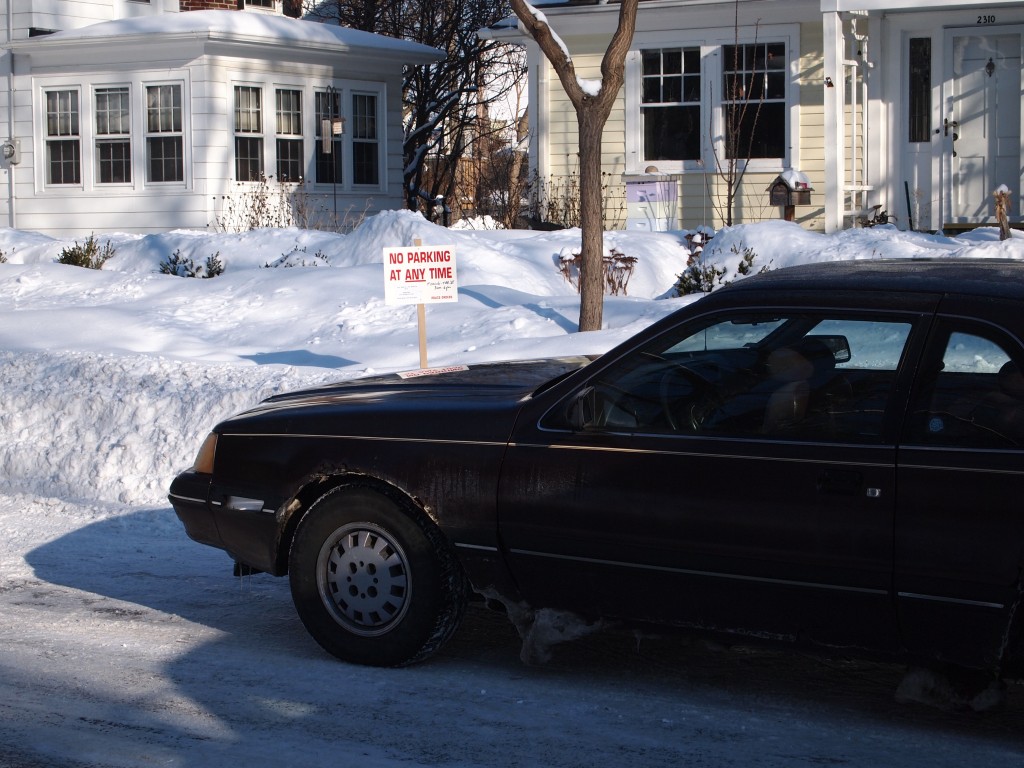
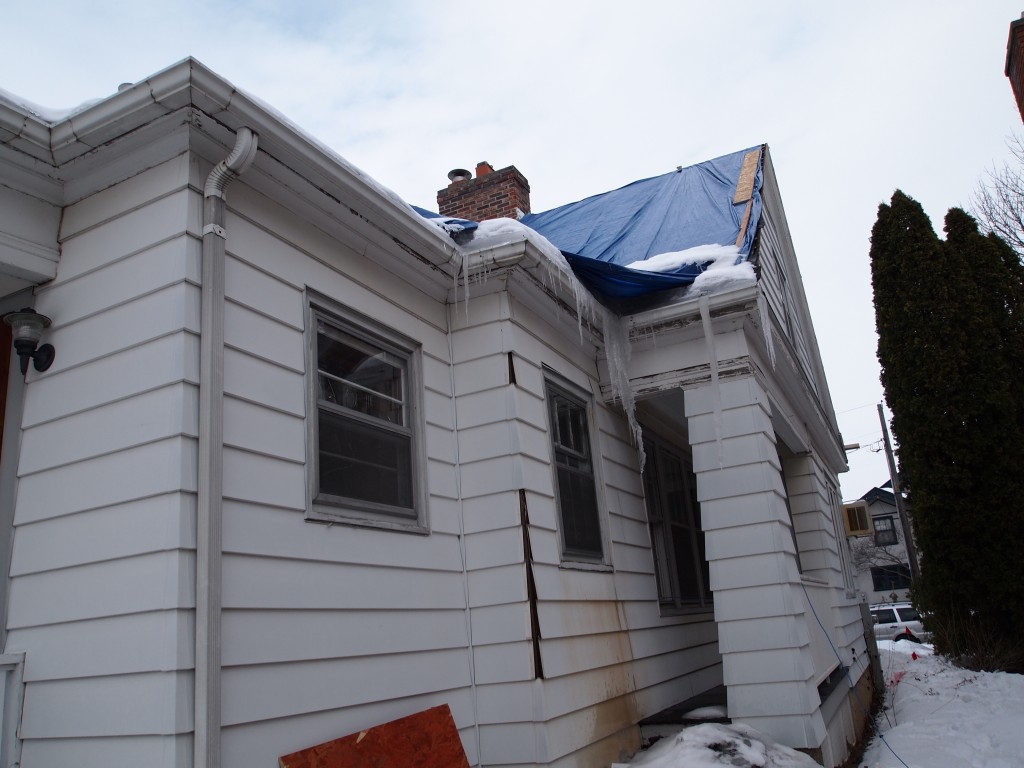
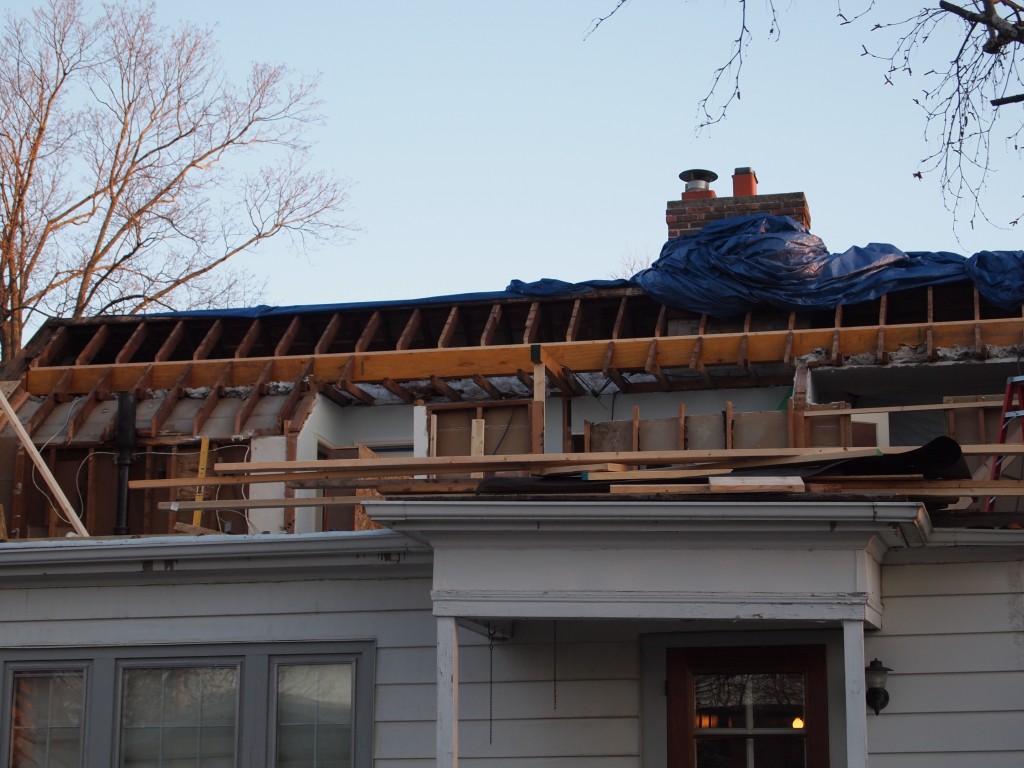
Some very dramatic changes took place this week. The first image is what the house looked on Friday, March 14 at the end of the day. The roof over the back is gone and covered with a tarp for the weekend.
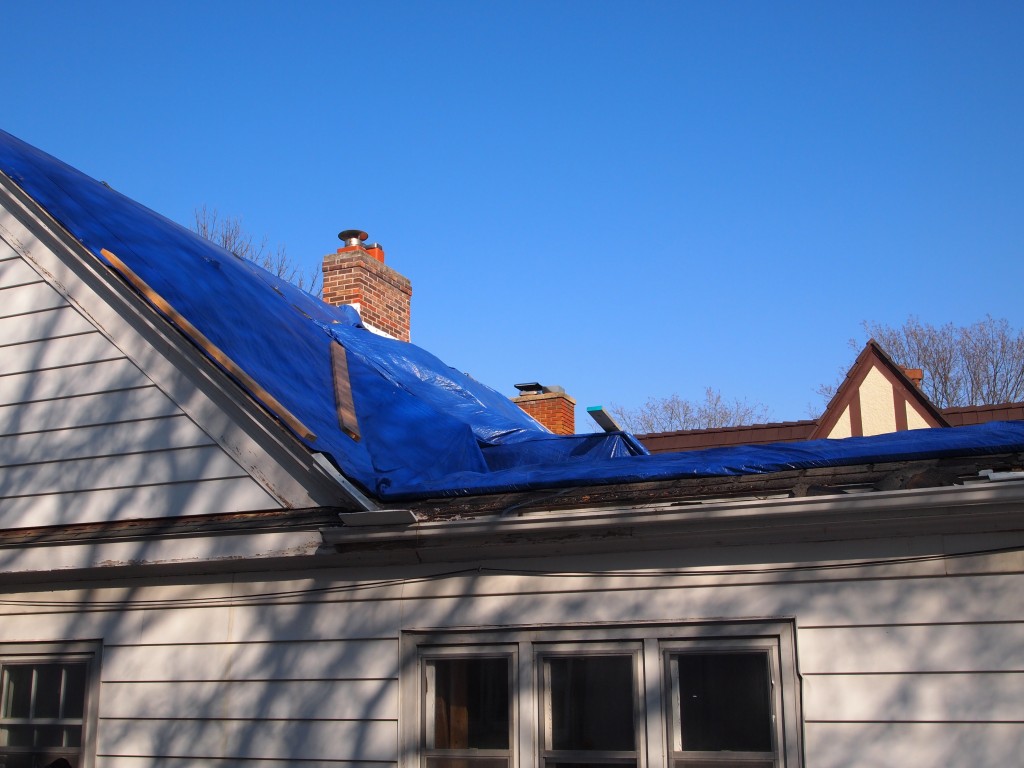
Friday, the 14th, tarps are up for the weekend.
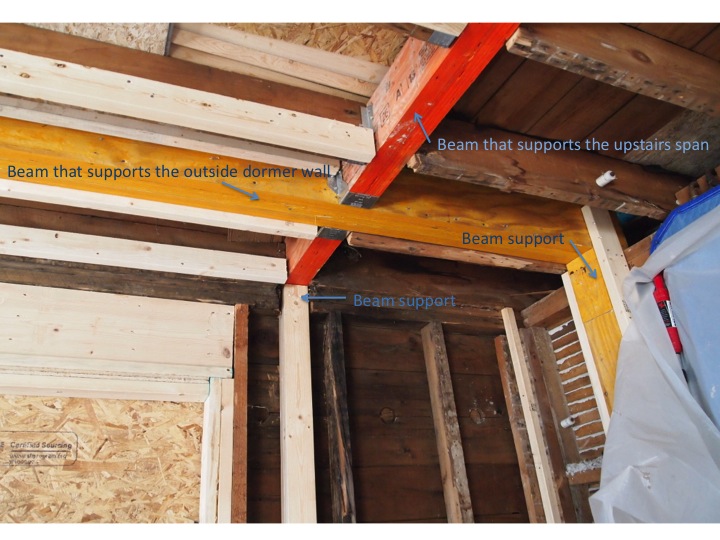
By the end of the day on Monday, the side walls were up and the main beam put in place. Some of the permanent columns were not in place yet, so the beam was braced with temporary supports.

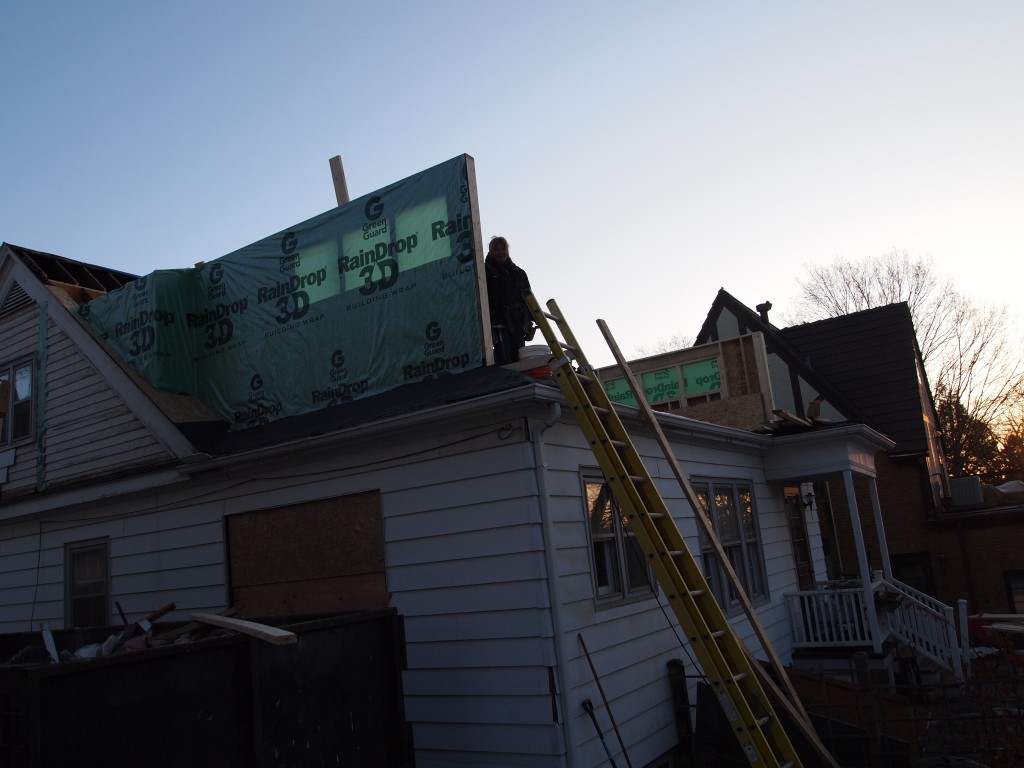
Monday, the 17th, some exterior walls go up.
Main beam in place
On Tuesday the crew spent most of their time on the interior, primarily installing more support columns. We expected the trusses on Tuesday, but they didn’t come.
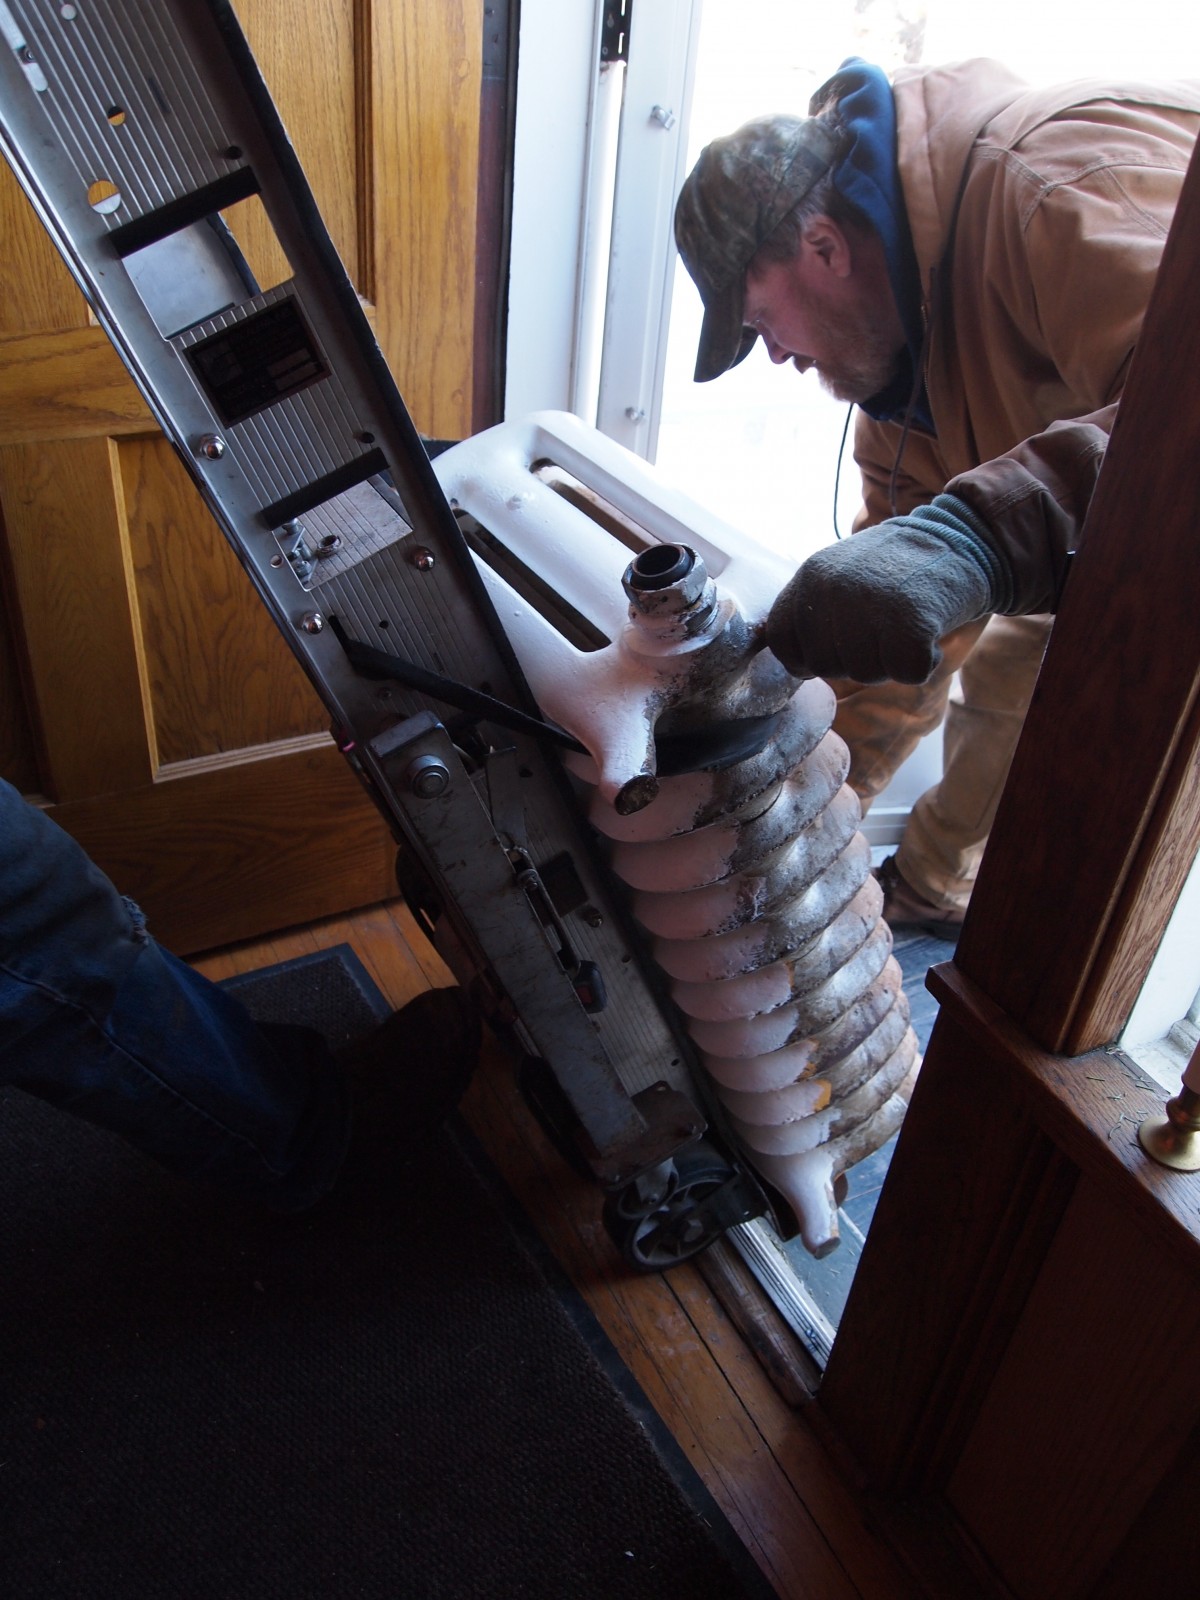
Wednesday morning, with snow flurries swirling, Greg and Matt unloaded the trusses.

Greg and Matt unloading the trusses
By Thursday morning all hands were ready to install the trusses. The images below show the progress throughout the day.
Thursday morning at 7:20 am, ready to install the trusses

All structural trusses are up by 8:15
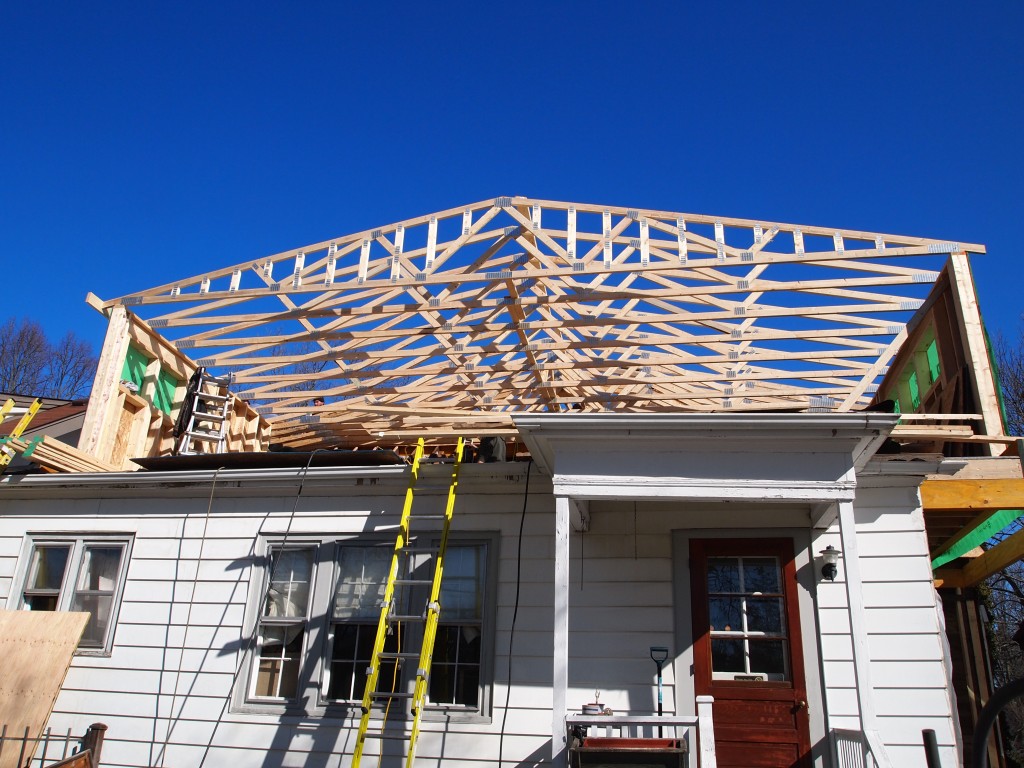
Structural trusses secured by 10:15 am
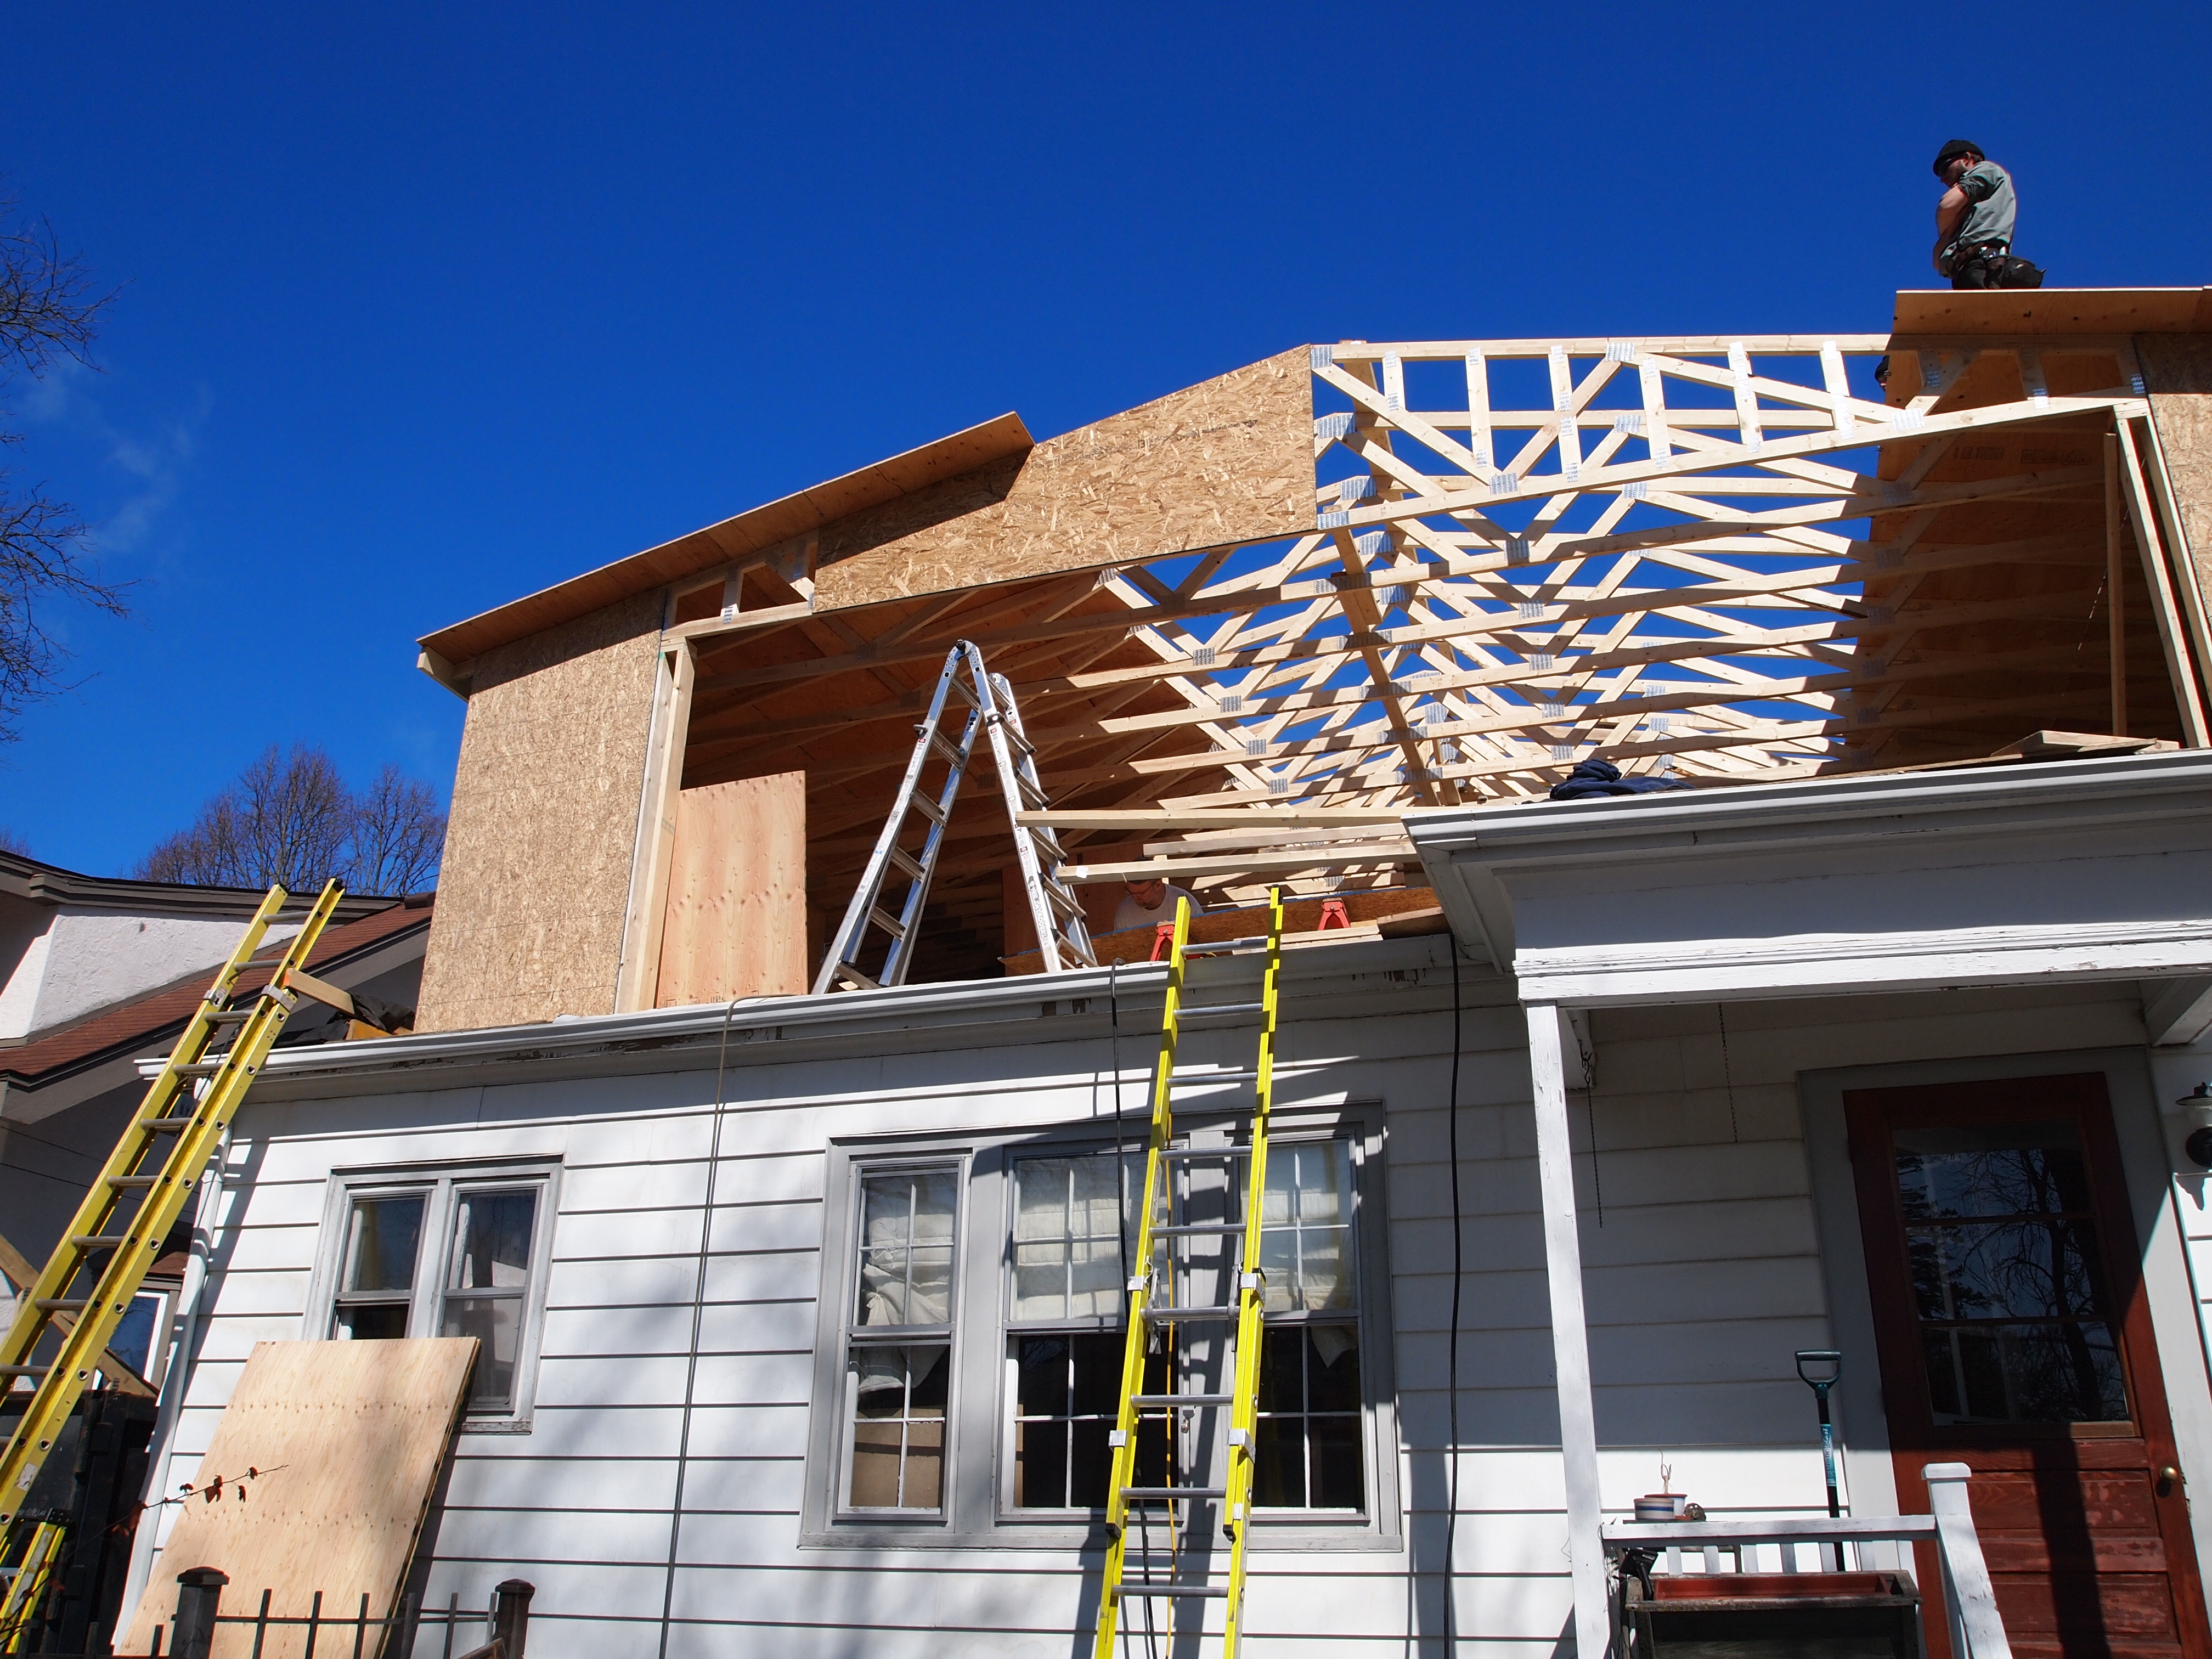
Roof and sidewall sheathing going on just before noon.

Installing the gable truss at 1:15
Ice and water shield on by 4:40 pm. The end of a busy day.
Friday morning was going to be a short day—just a bit of work to prepare the interior for next week and get the rest of the roof ready for the remaining ice and water shield. Right before 9 am I went out to see what the crew was up to and I saw that they were taking down the back porch. I shouted “Stop!” because Rick and I had decided to keep at least the porch roof and install new posts and railings to the deck that would connect to the side deck. As I looked closely I saw that they had already sliced the roof of the porch from the house. The plans didn’t show a porch roof, they said. They waited for Rick to show up before proceeding.
The upshot is that the plans were drawn primarily to obtain the permit from the city. Several details that the draftsman either included or omitted were to be decided during construction since they had no bearing on the permit. This was a pretty big miscommunication, especially since up to now, this had been a very successful week.
As the morning wore on I showed Rick a photo of the kind of porch roof that might work and, in my view, would even look better. Rick said it would also be easier to build than the old porch. By lunchtime the new porch roof was framed in as you can see in the photo below.

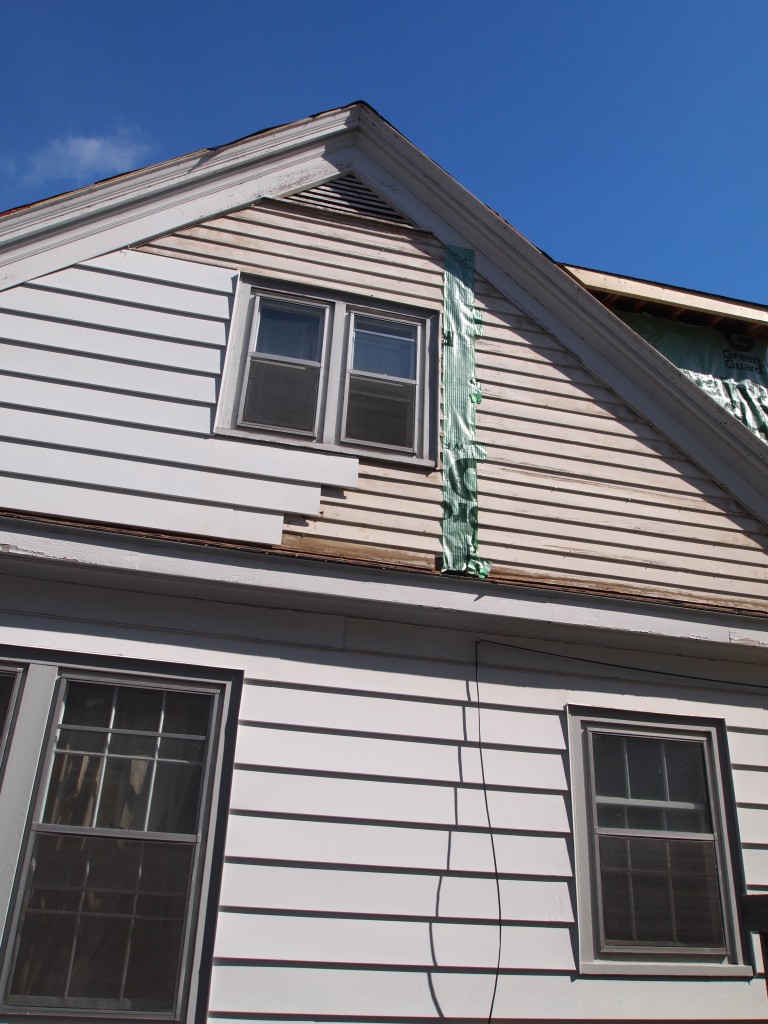
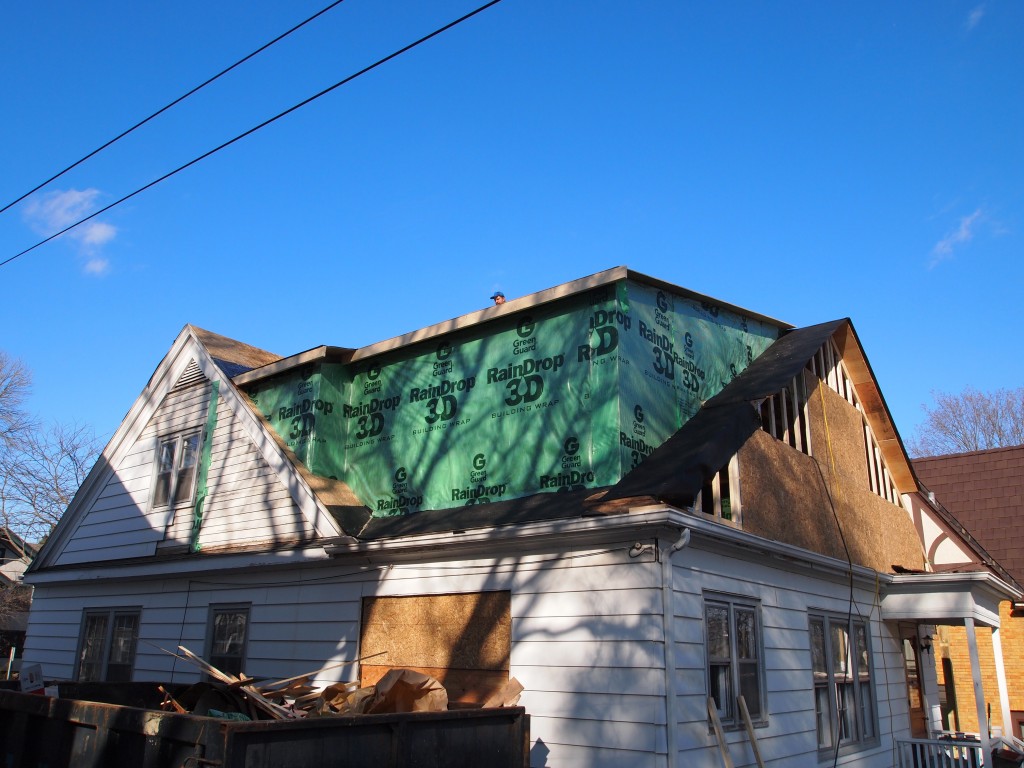
Friday afternoon, the house is wrapped. Note the new porch roof.
Quite a week.