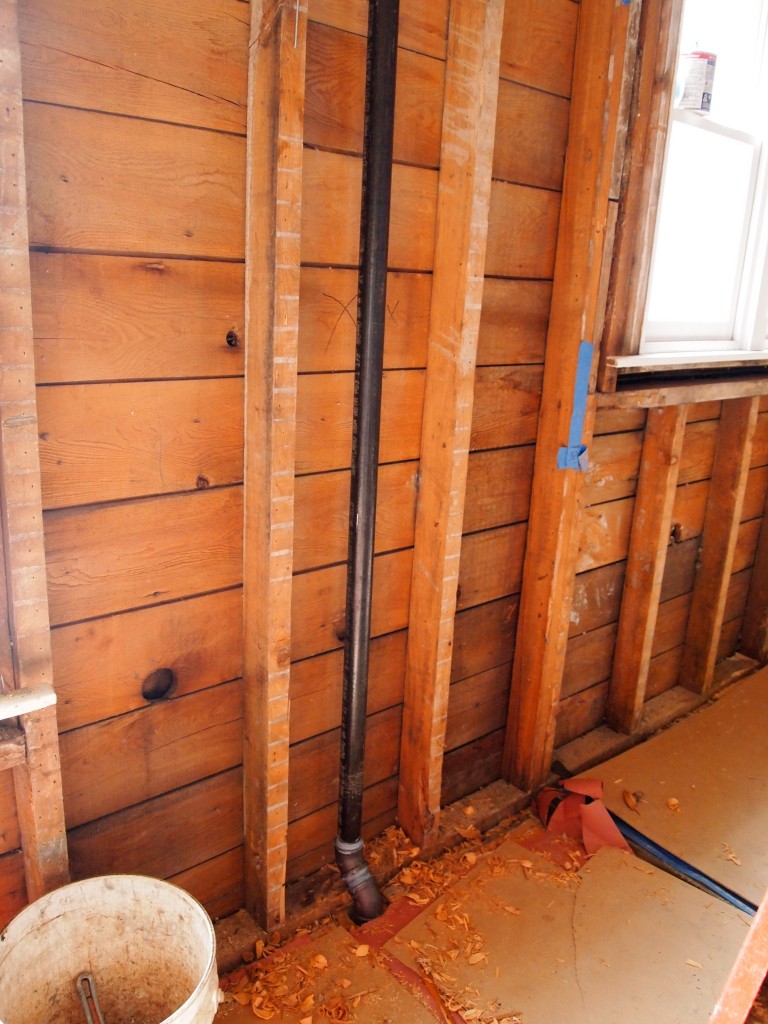
One of the first modern commercial insulation products was made in Louisiana by Celotex of a material called bagasse, the pulp that remains after processing sugar cane. Celotex produced their first insulation board in 1920 and it may have been what was used in the Temporary House when it built. The fellows who removed the lath and plaster from the old bedrooms found the dense matted material behind the lath and wedged into the spaces between the windows and the studs. It was very difficult to remove. A report written for the Midwestern Roofing Contractors Association in 1988 said that bagasse and wood pulp were the only remaining commercial products then available from the many different types that were tried through the 1920s and 1930s.
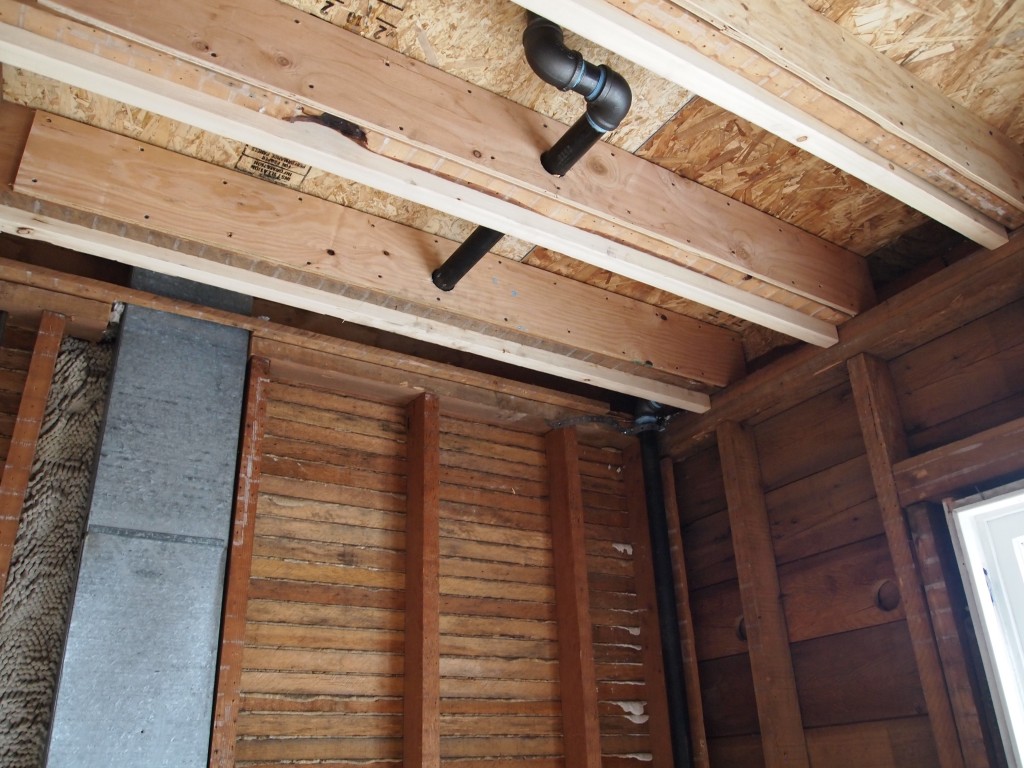
Below is a photo of the fibrous material we found in the house and the fluffy white stuff is very likely a material called rock wool, a precursor of fiberglass. The rock wool had once filled the stud cavities but ultimately had settled within the cavities—it wasn’t doing much insulating.

Bagasse insulation was made from sugarcane pulp. The white wispy stuff is an early form of fiberglass called rockglass.
Nowadays, foam and fiberglass bats are the primary materials used for insulation. Foam is the better insulator, but is substantially more expensive. Straw, cellulose, and shredded denim are among some other less common, though recycled, insulating materials.
Once the rough electrical inspection was completed the insulating began. The first step was to use foam to seal all the cracks between the sheathing and studs. Roberto below used this orange foam that came in a can. After all of the cracks were sealed, the pink fiberglass bats went between the studs. Then plastic sheeting covered the studs, fiberglass, and window openings.

Filling all the gaps with foam.
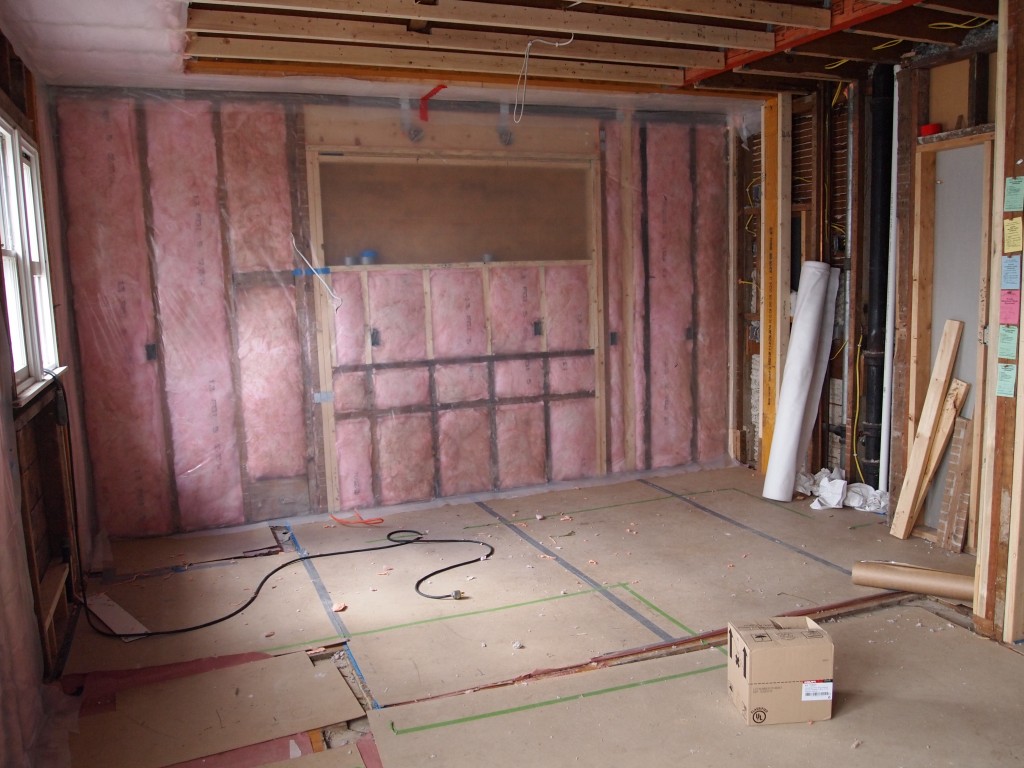
New kitchen space is insulated and plastic stapled in place
Upstairs the procedure was a little different since there are fewer cracks in the sheathing. Yet all of the possible sources of air leaks were hit with a shot of the orange foam. The pink fiberglass went between the studs except for the spaces where the ceiling angles down.There the space was too shallow for the fiberglass so it was filled with foam. That foam is beige. Reflective foil lines all of the areas that will be behind radiators. The upstairs will be very warm.
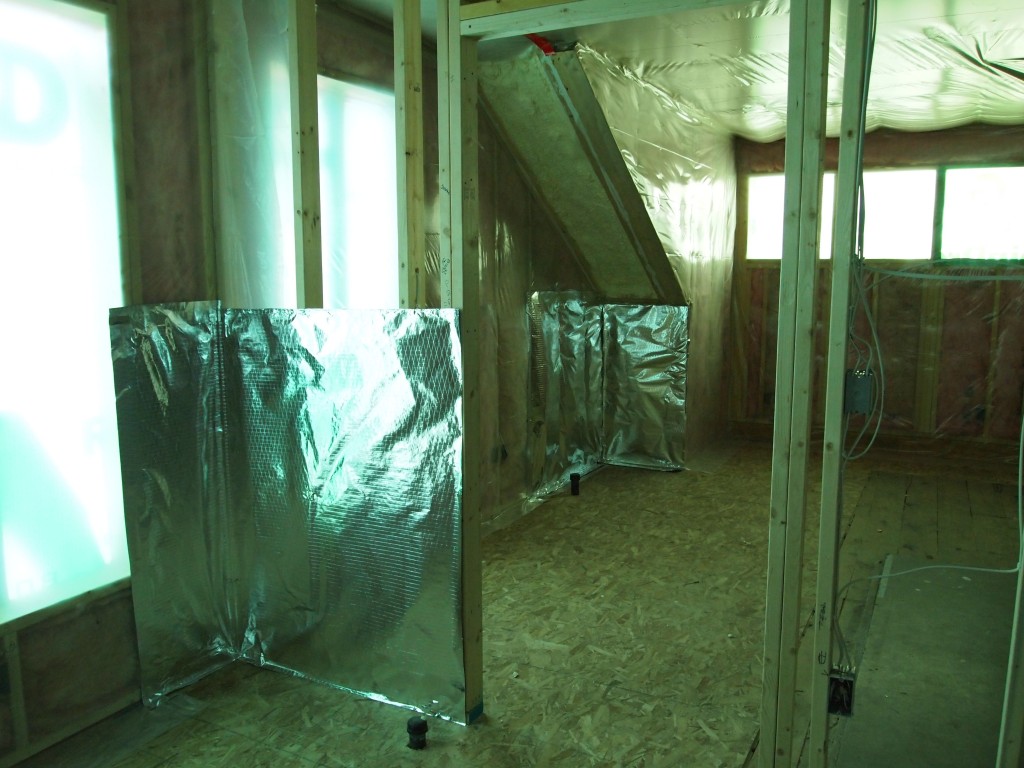
Foil is placed on top of the insulation in the areas where the radiators will be. The heat will be reflected back into the rooms.
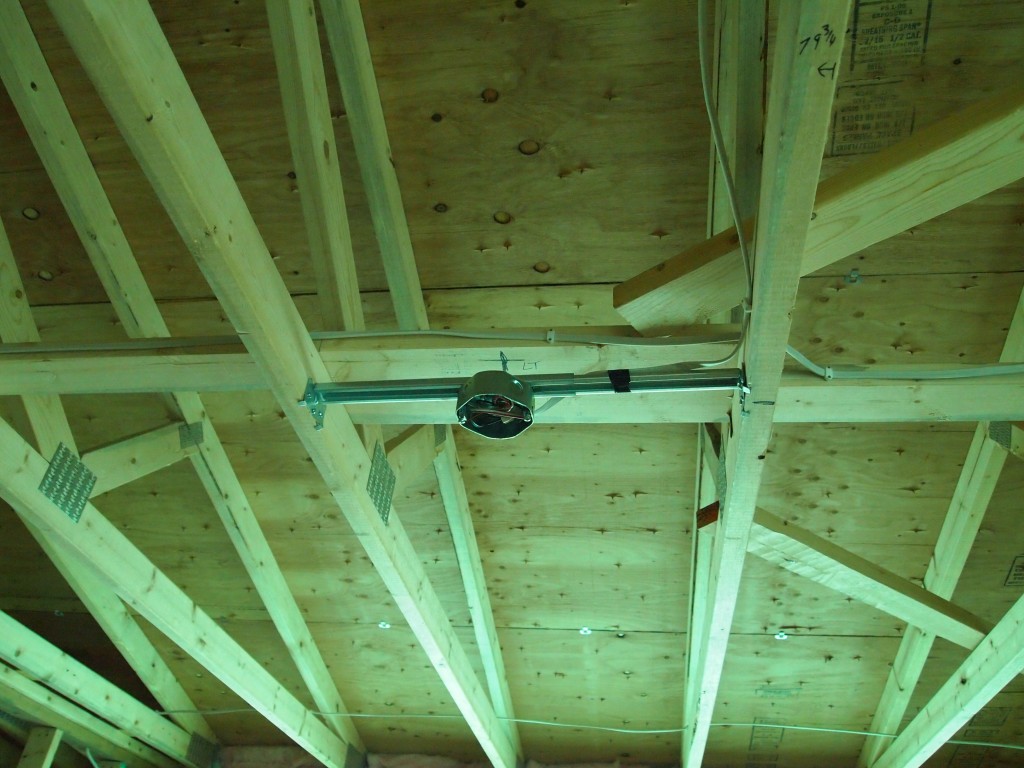
Another important aspect of the ceiling insulation is the use of plastic/foam panels to line the ceiling before the fiberglass bats are put in place. These panels have channels for the outside cold air to seep in and form a layer of cold air under the shingles. This way, ice and snow are less likely to melt on the roof and the melted water less likely to refreeze under the shingles and form ice dams.
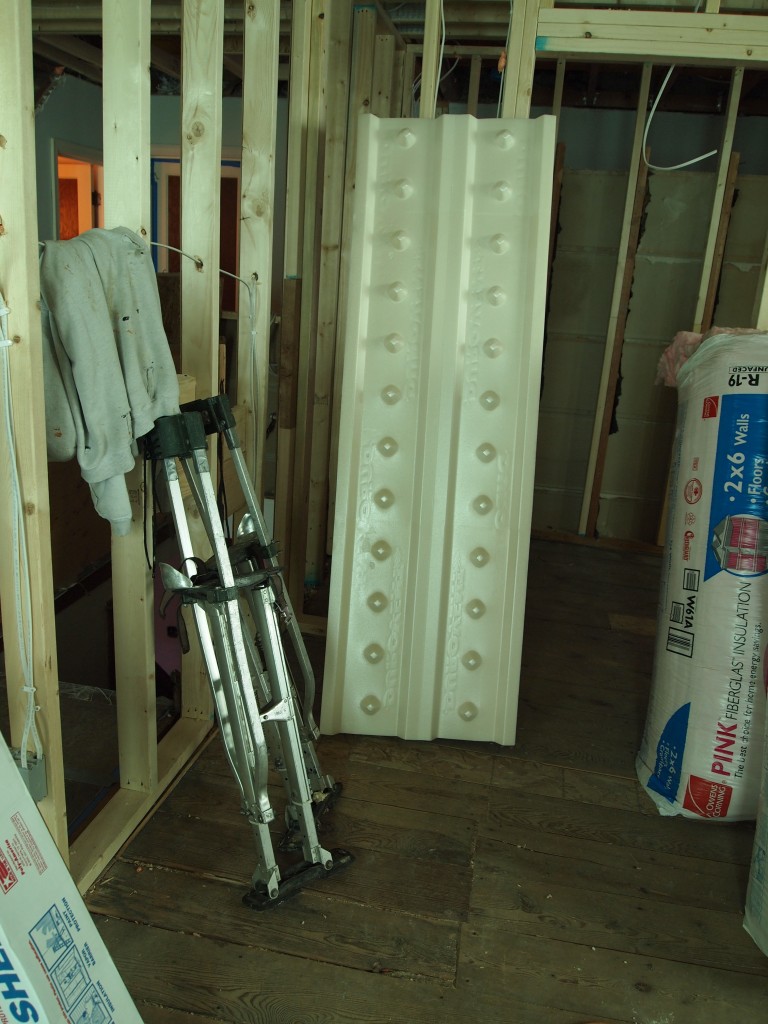
Vent panels for the second floor ceiling create a cold air layer under the roof to prevent ice dams.
With the last of the “rough inspections” approved we are ready to coverup all of this fine “rough” work with drywall.

Inspectors’ Approval tags
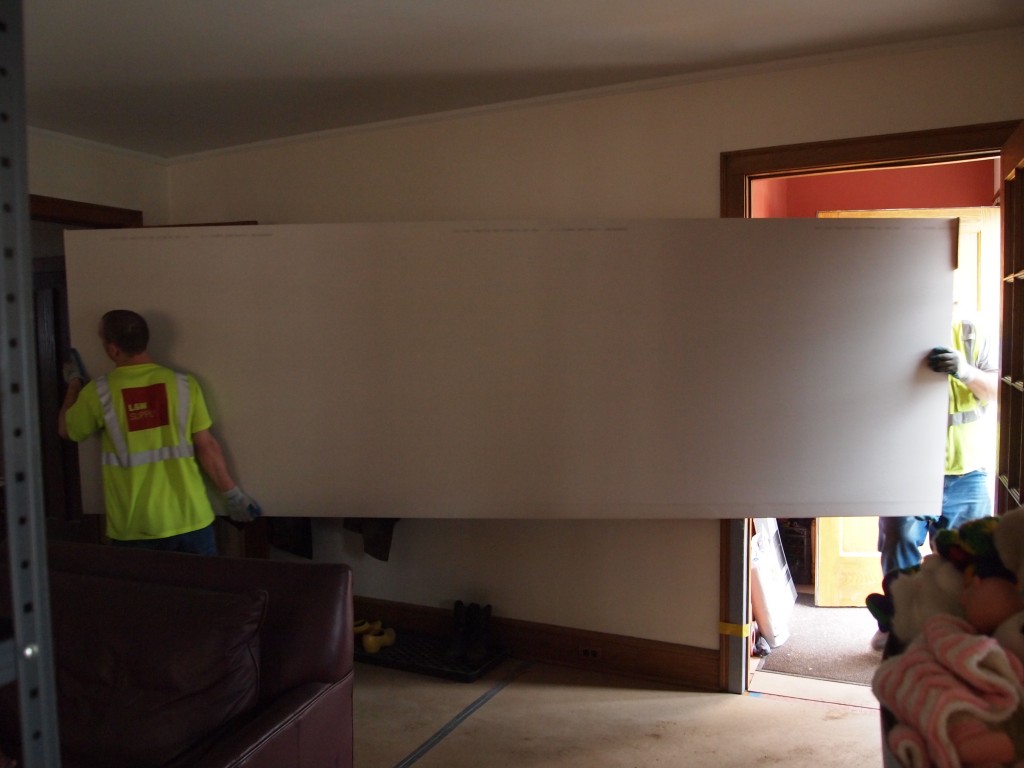
Drywall is next! One of sixty 12 ft. long sheetrock panels being loaded into the house.