Floors
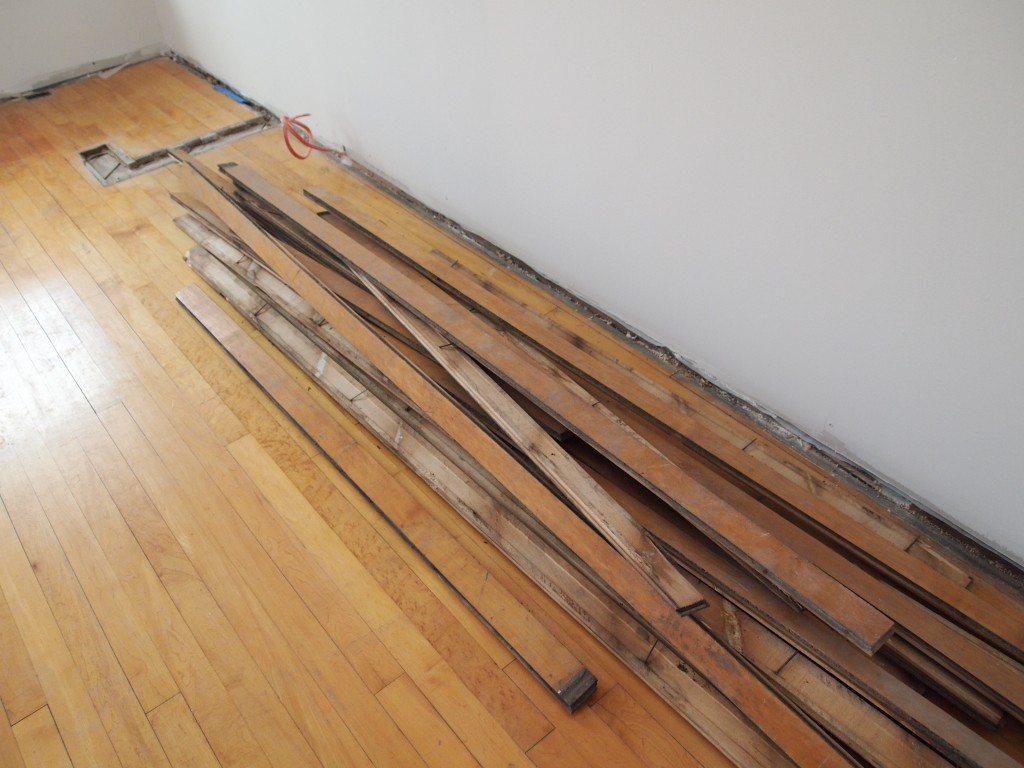
The old floor in the new kitchen area is maple. I didn’t want to rip up perfectly good floors to put down my first choice for a kitchen floor, porcelain tile. Porcelain tile is ideal for a kitchen and I don’t feel it is too cold on bare feet or more likely to cause items to break that drop on it. The maple did require some weaving of new pieces into the spaces where walls had been as well as replace the damage caused by radiator valve leaks over the years.. Since 21st century maple wouldn’t fit, Tim the flooring installer, found old maple flooring at Habitat for Humanity’s ReStore.

In order to weave replacement wood into an existing floor, the new and old have to be dimensionally identical. New maple flooring doesn’t have the same dimensions as the maple from 1925. Tim was able to find some old maple flooring at Habitat’s ReStore.
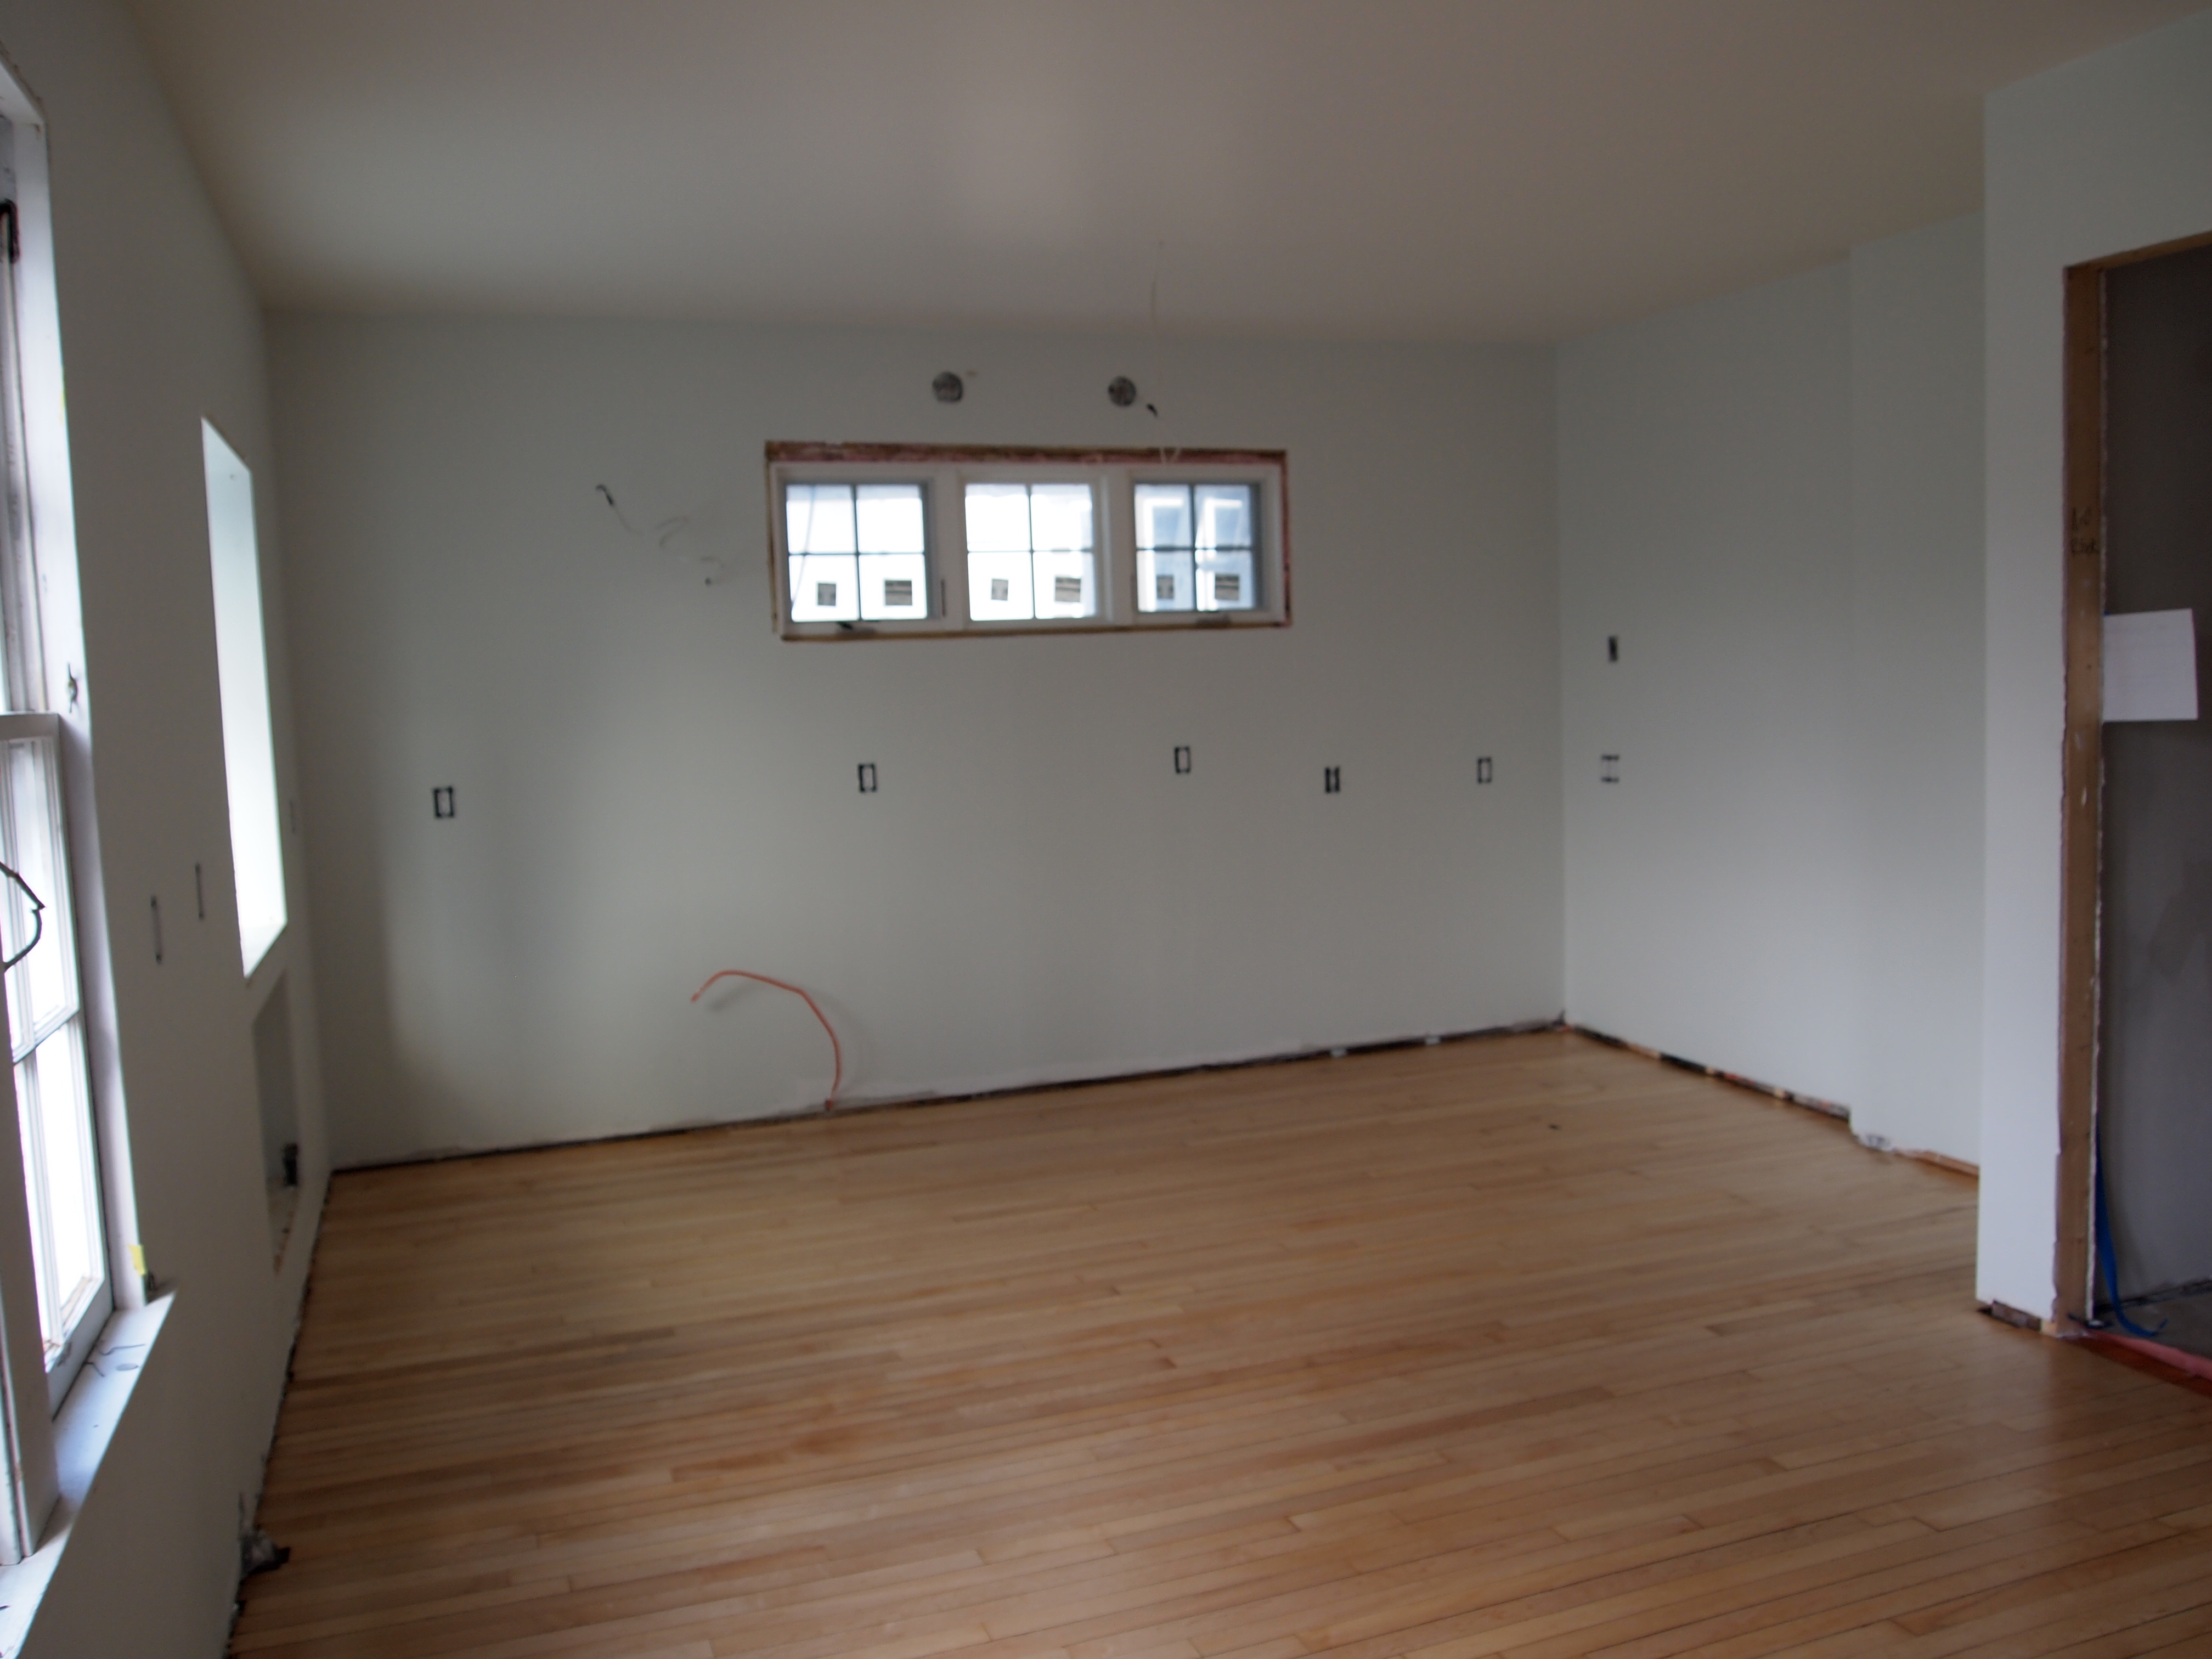
You cannot tell where the old and “new” pieces were woven together. Below is the maple before and after repair. Pretty good job, don’t you think?
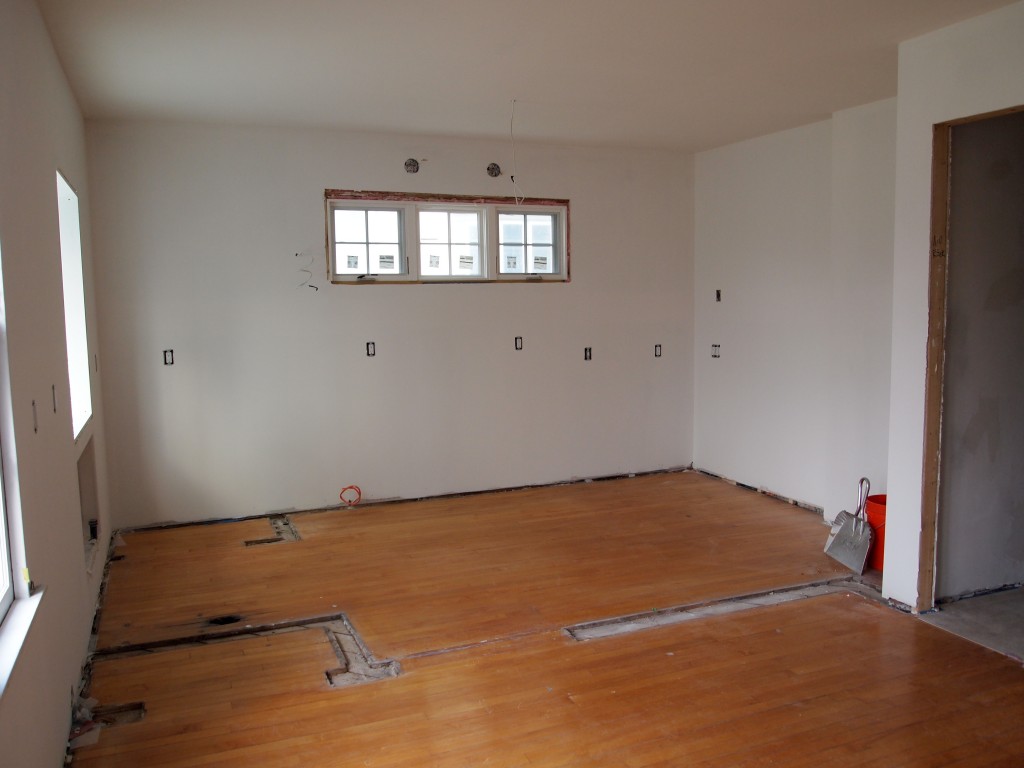
The maple floor after the walls were removed. Replacement maple needs to be woven in.

The kitchen floor refinished.
The bedroom and bonus rooms are in red oak to match the oak in the rest of the house. I had considered maple, but unlike new oak which is the same dimension as old oak and old maple, new maple is dimensionally different. It would have been more work to make the two sizes match up. I chose not to stain the new oak, though, and just use a clear finish. I like to see the transition to the new space.
The floors were sanded and took two coats of sealer right away. When everything else is finished the floors will be buffed and a final coat of Bona Traffic will go down.
Below are the photos I took of the process, most are of the maple floor. Read the captions to see what is taking place.

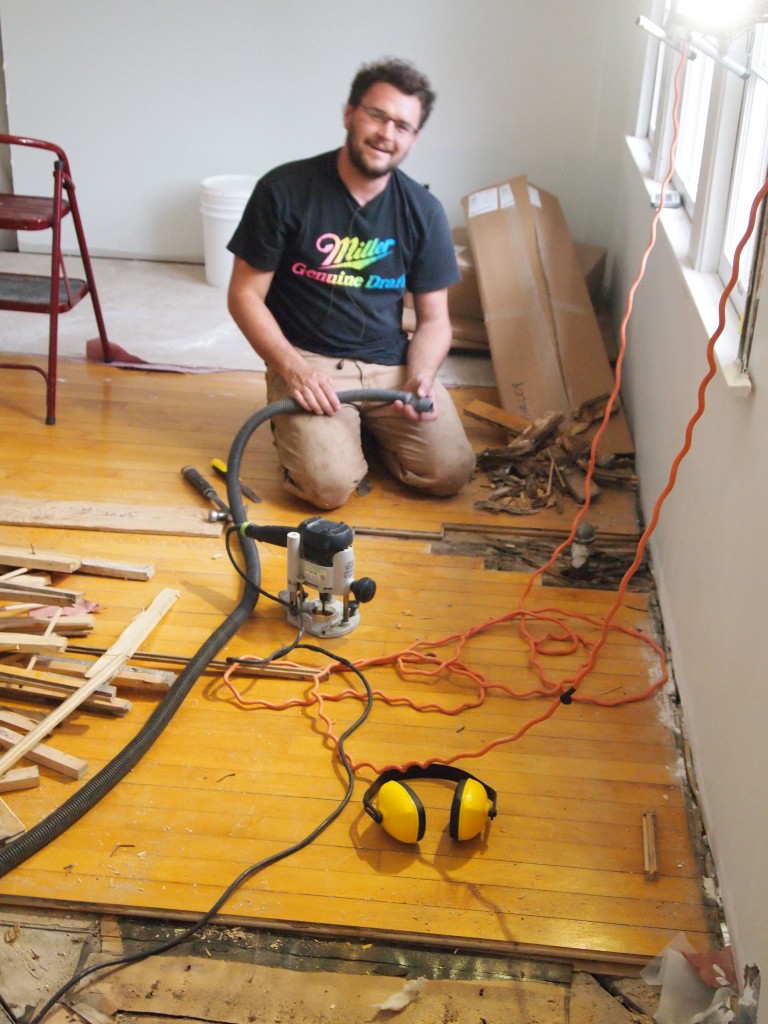
When a radiator valve leaks over time the wood floor can rot away. Chris is clearing out the old wood and preparing to weave in the wood from Habitat’s ReStore.
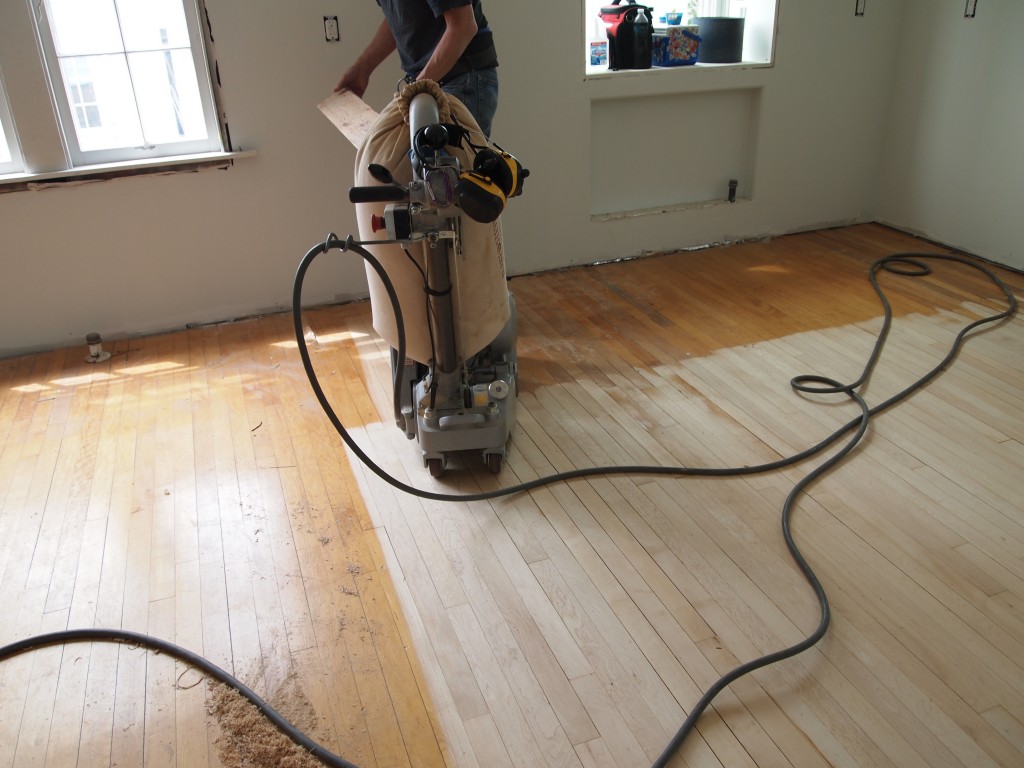
Sanding the old maple floor. The “old” maple pieces from the ReStore were weaved into the existing floor. It is hard to tell the “old” old from the “new” old.
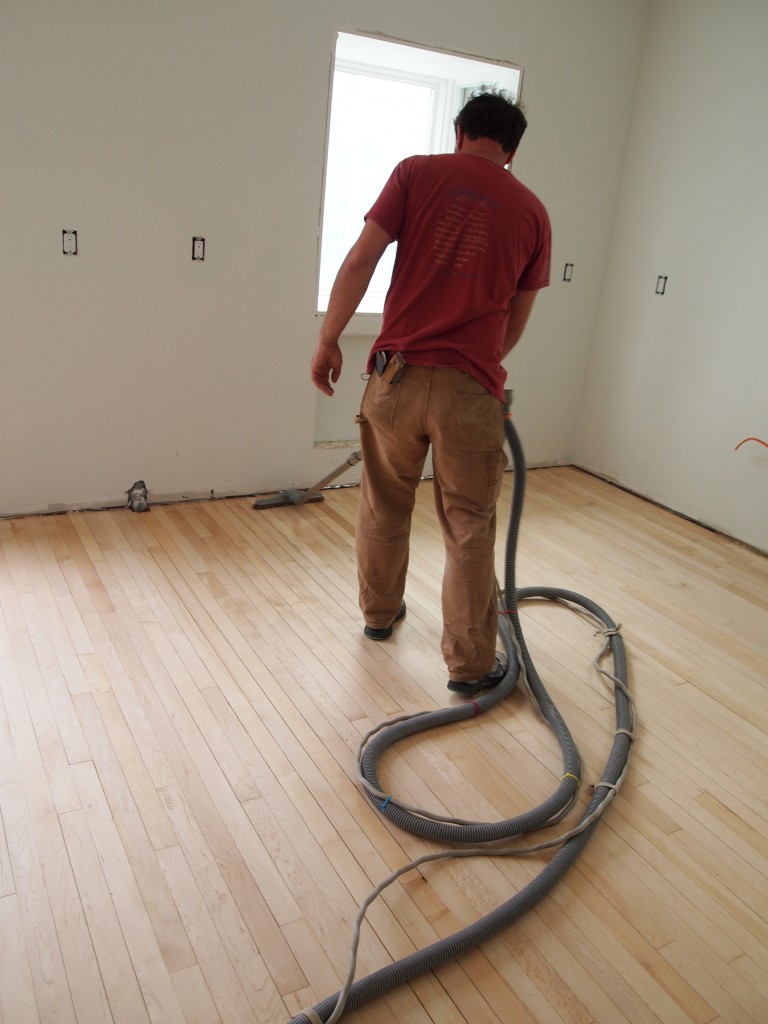
After he sanded the floor, Chris vacuumed it, then used a “tack” mop to get all of the dust.
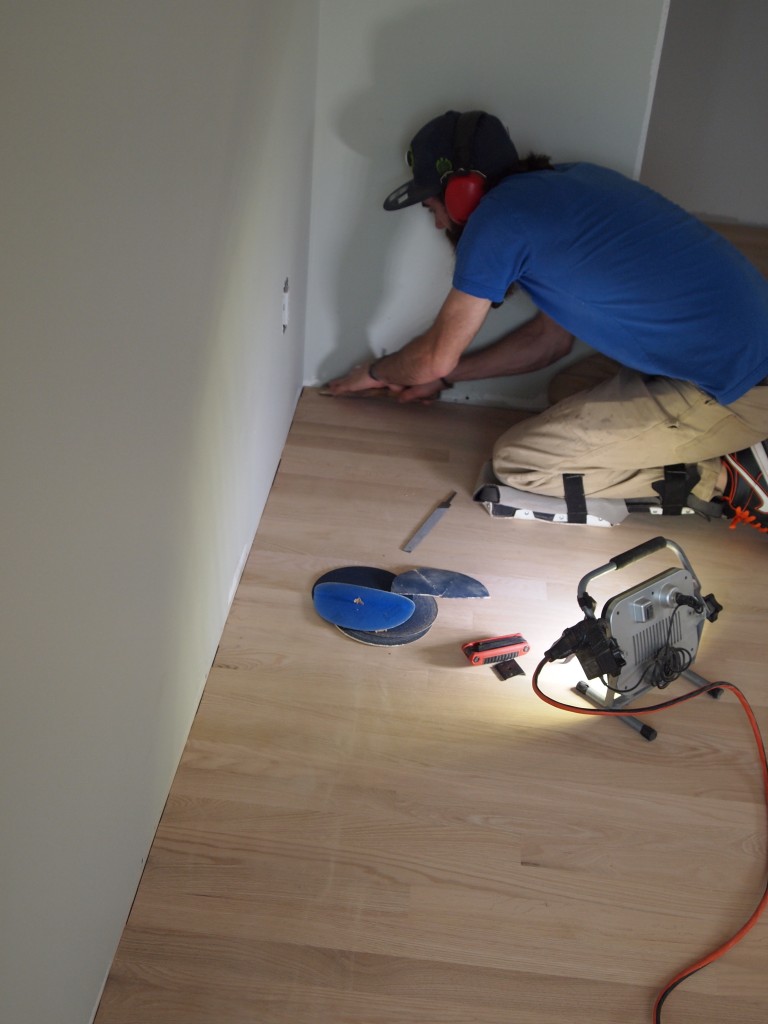
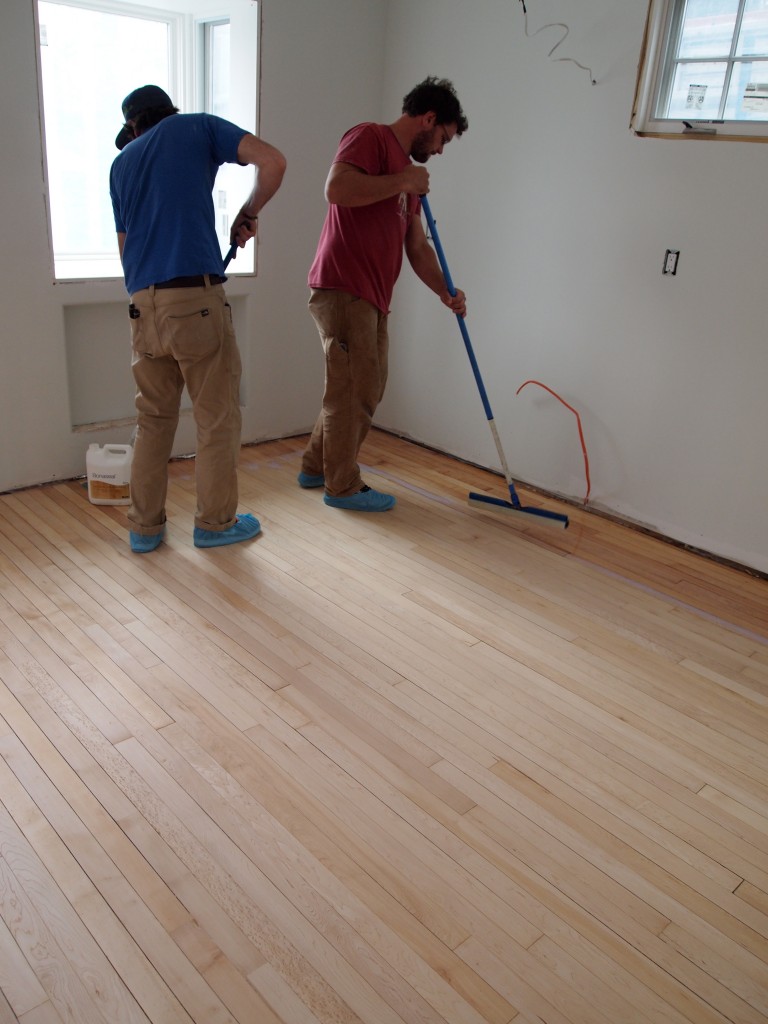
After the floor is sanded, Jason carefully scrapes the corners smooth.

Jason and Chris start in a corner to apply the sealer. Jason works the sealer around the perimeter and Chris works from the perimeter to the center. Their process was like choreography.
Chris and Jason finish the second of three coats on the kitchen floor.

The old and new oak meet at the upstairs hallway. The old oak has a polyurethane finish that has yellowed with age. The new floor has a water based image and its color will not change much with age.
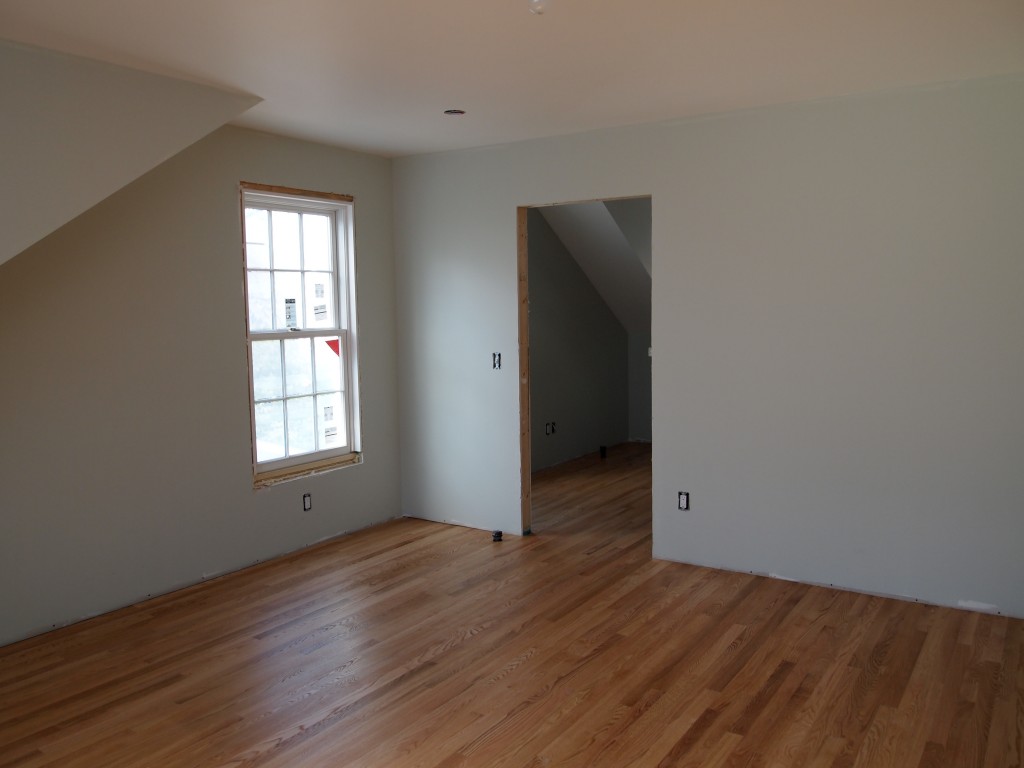
The finished oak floor in the bedroom.
The floors are absolutely gorgeous. The next steps are to install the doors, apply the trim around the windows and doors, and apply the base trim.
The exterior work is still ongoing so the next two posts will be about the kitchen.
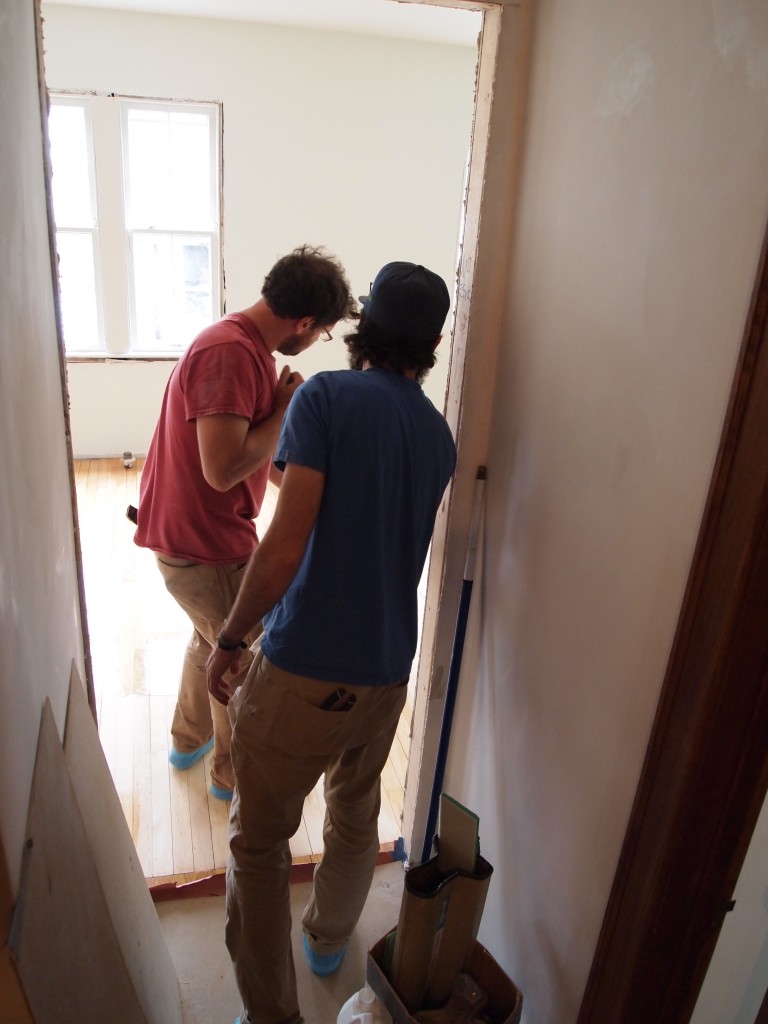
The last few weeks have seen a lot of traffic as Rick juggles to make sure the trades are scheduled so as to prepare for the next stages without stepping on each others toes. And to make sure that there is plenty of parking for the trailers and trucks as well as to replace the Do Not Park signs that go missing.
The sheetrock, windows, and painting progress appear below. I’ve taken many photos of the progress, but will show only a few photos of each stage.
Sheetrock
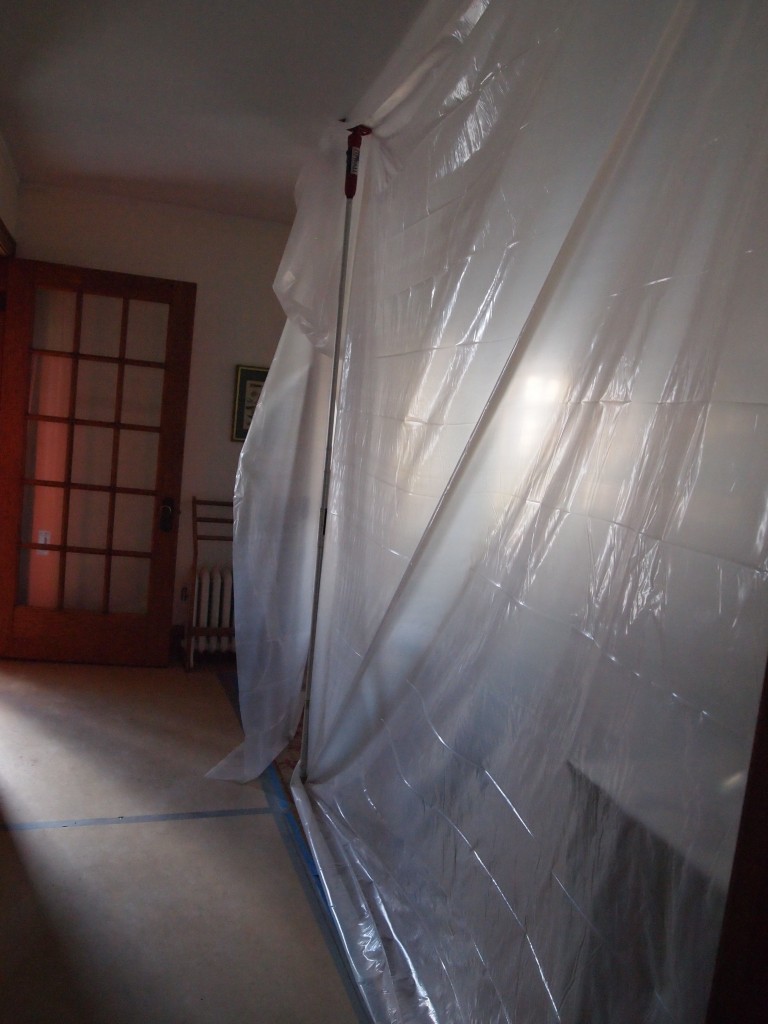
This is probably the messiest jobs in construction. Once again the plastic walls and tunnels went up to reduce the amount of dust. This step does a pretty good job, but it is not perfect. I’ve stopped trying to keep up with it; I just make sure the dishes are dustless before using them.

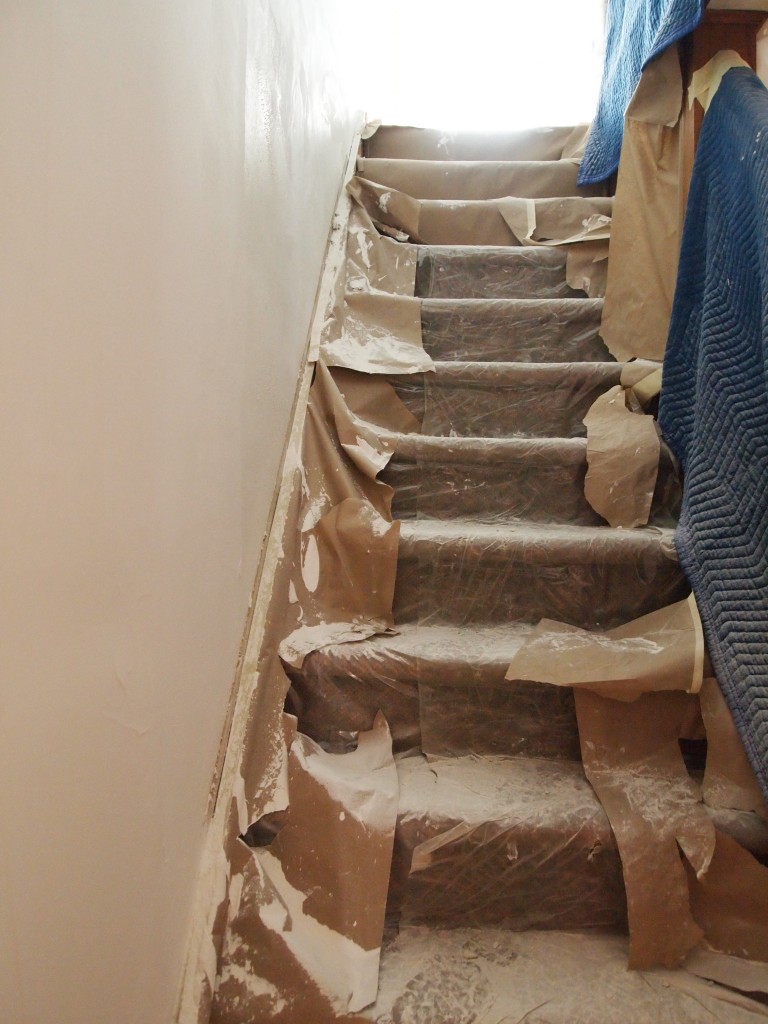
Plastic tunnel to the front door
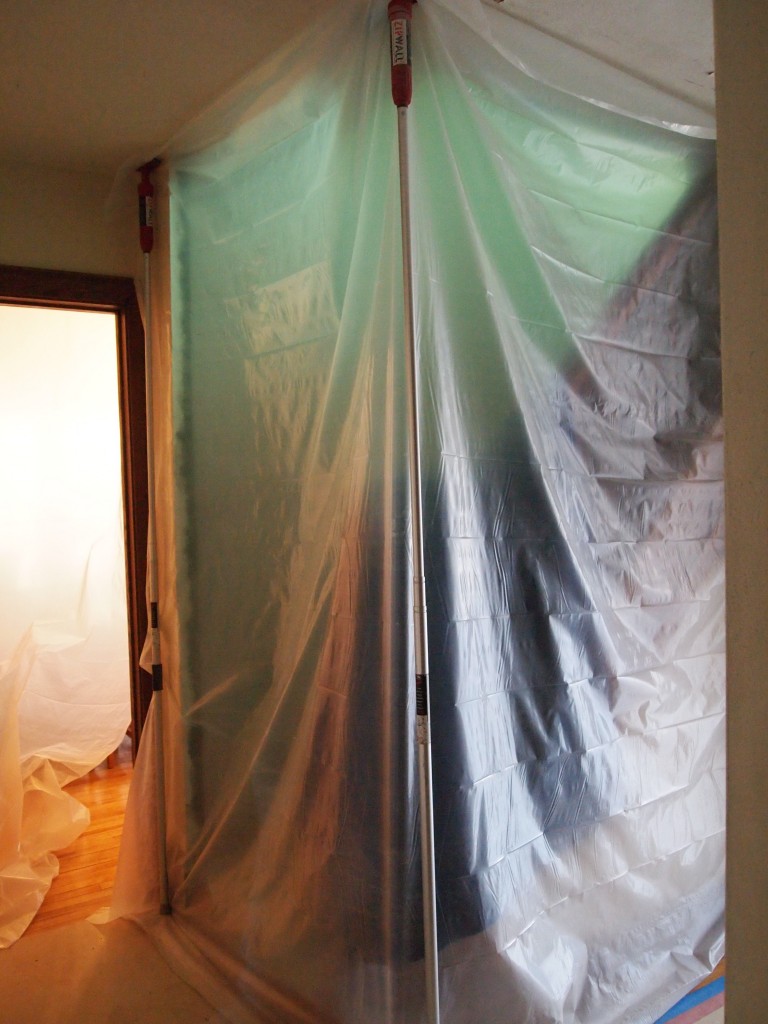
Plastic around stairwell
The first stage of “rocking” goes pretty fast. In a day and a half, both the upstairs and downstairs spaces had their sheetrock screwed in place. Next came the taping and mudding of the seams and joints followed by the skim coat. This was pretty messy as the guys like to work with fairly wet mud. Nothing gets in their way, including electrical outlet boxes and switches, as they work their way around the rooms.
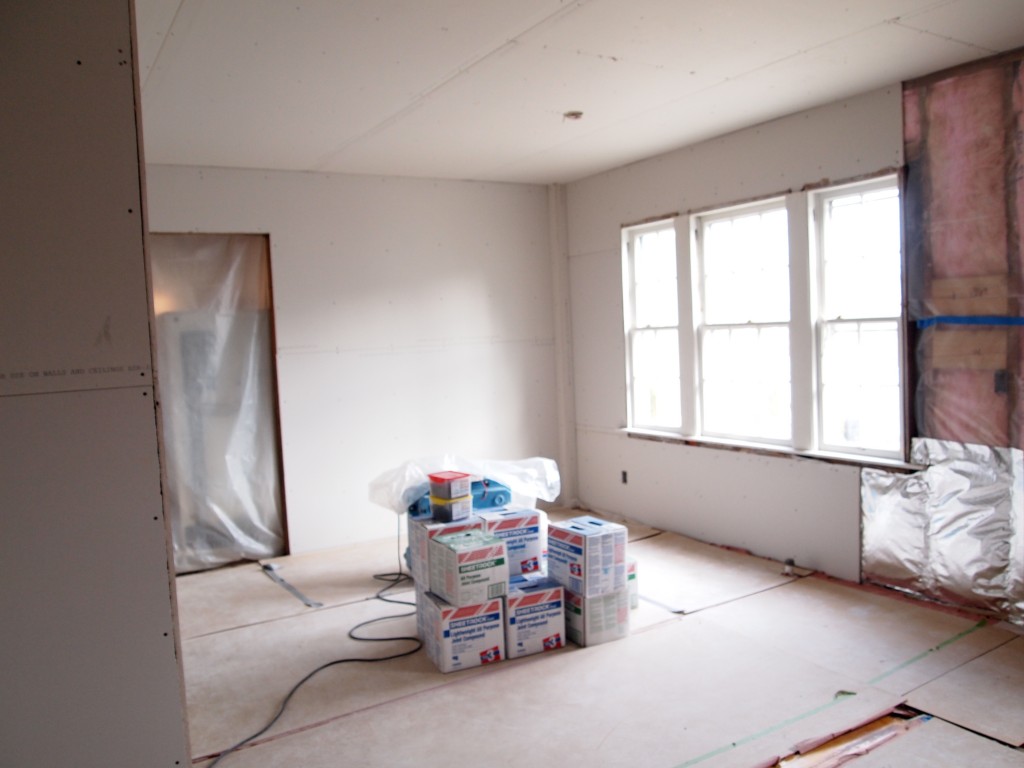
Sheetrock in place
Seams taped and screw holes filled
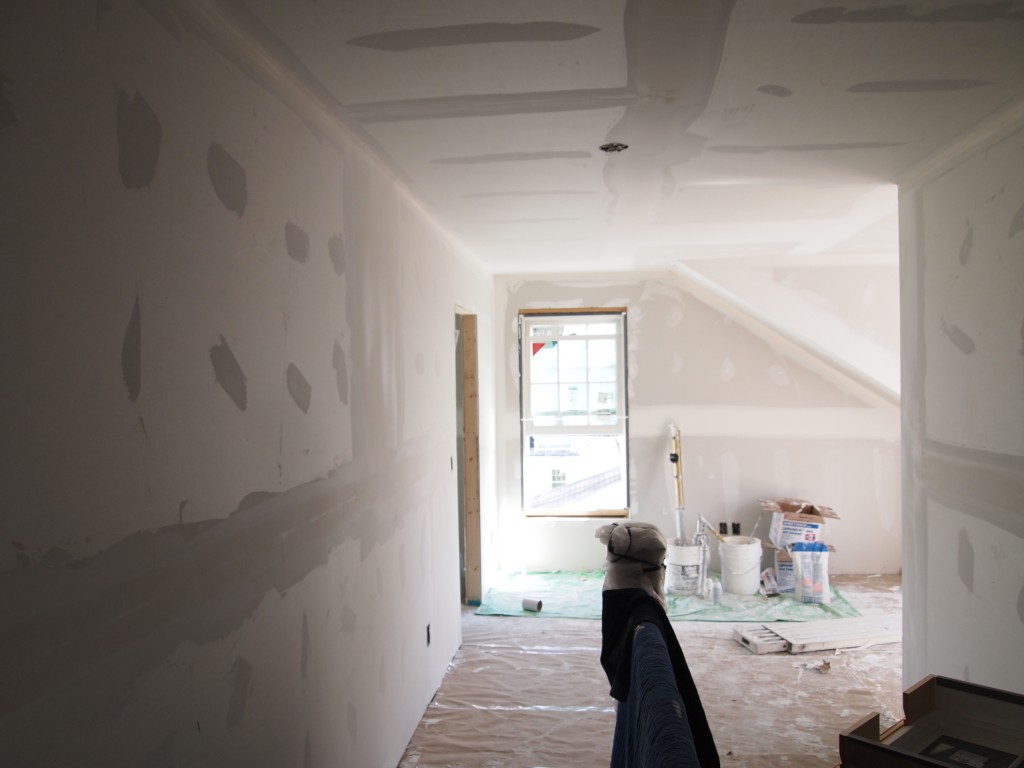
Then we wait for the mud to dry before the sanding begins. Once dry, the real mess began. Sanding coats everything with a layer of joint compound dust. The sanding and finishing took several days because I asked for a smooth finish.
Some of the drywall compound dust
Windows
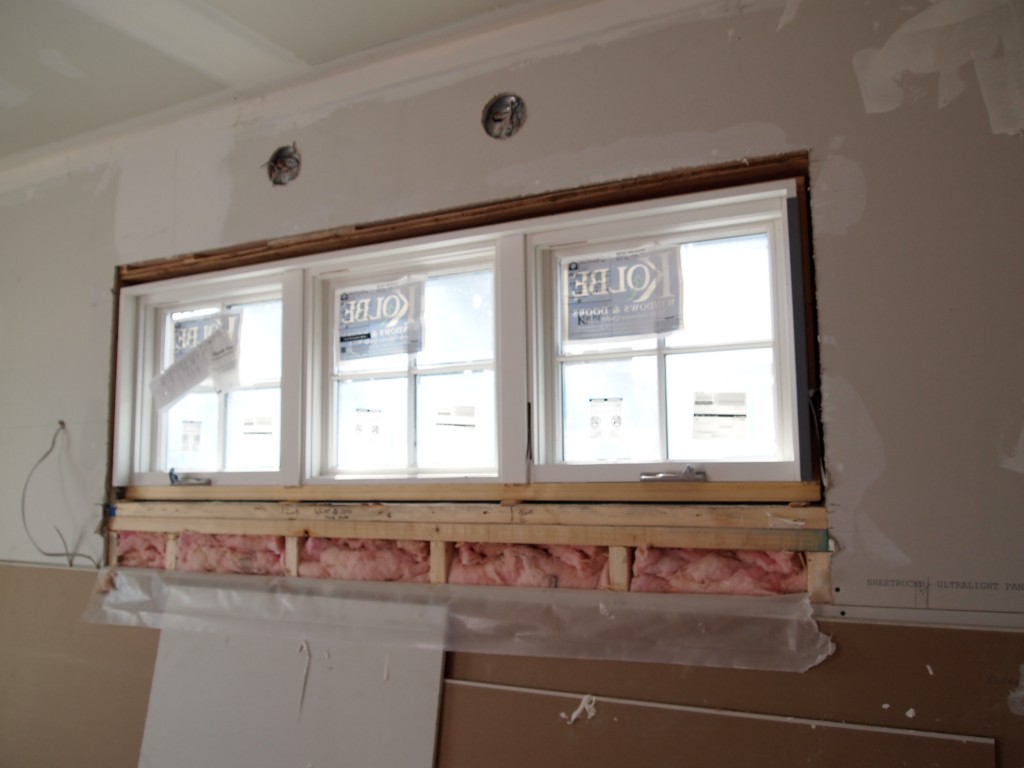
The windows arrived during the sheet rock installation. The box bay for the garden window was a splurge for this project. With the exception of the box bay and a replacement window for the old kitchen, all of the windows had simulated divided lights. That means there was a spacer between the two panes of glass and muntins to give the appearance of true divided lights, in keeping with the style of the original windows of the house. The sheetrock installation halted while the windows were installed.
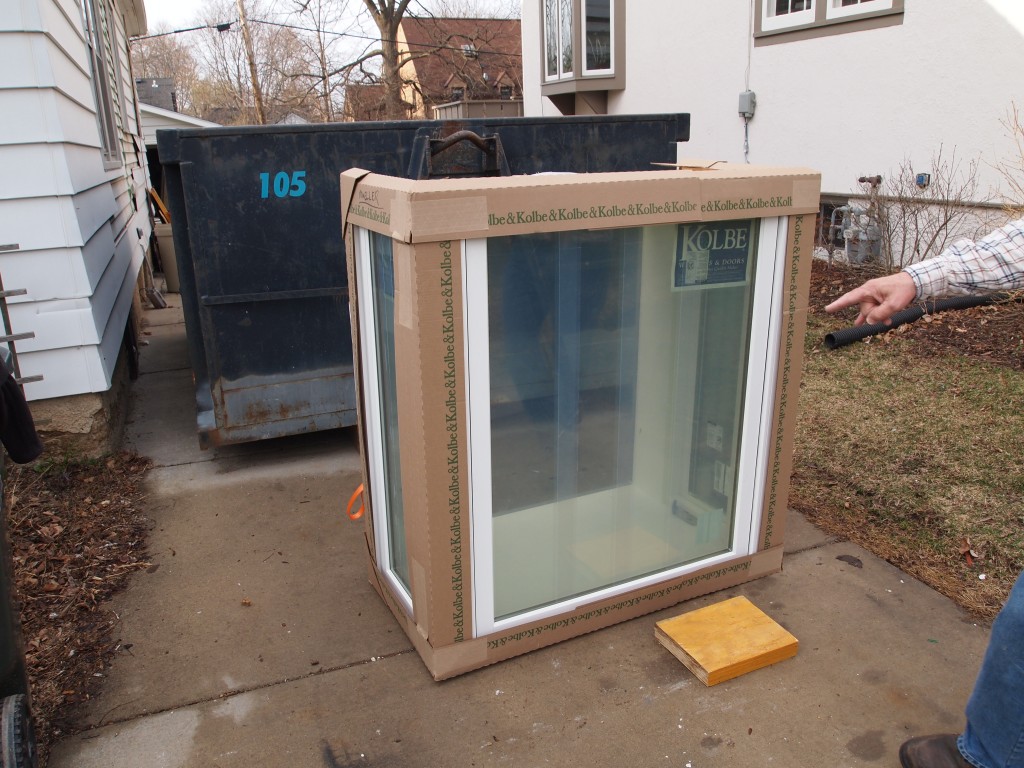
Box Bay delivered
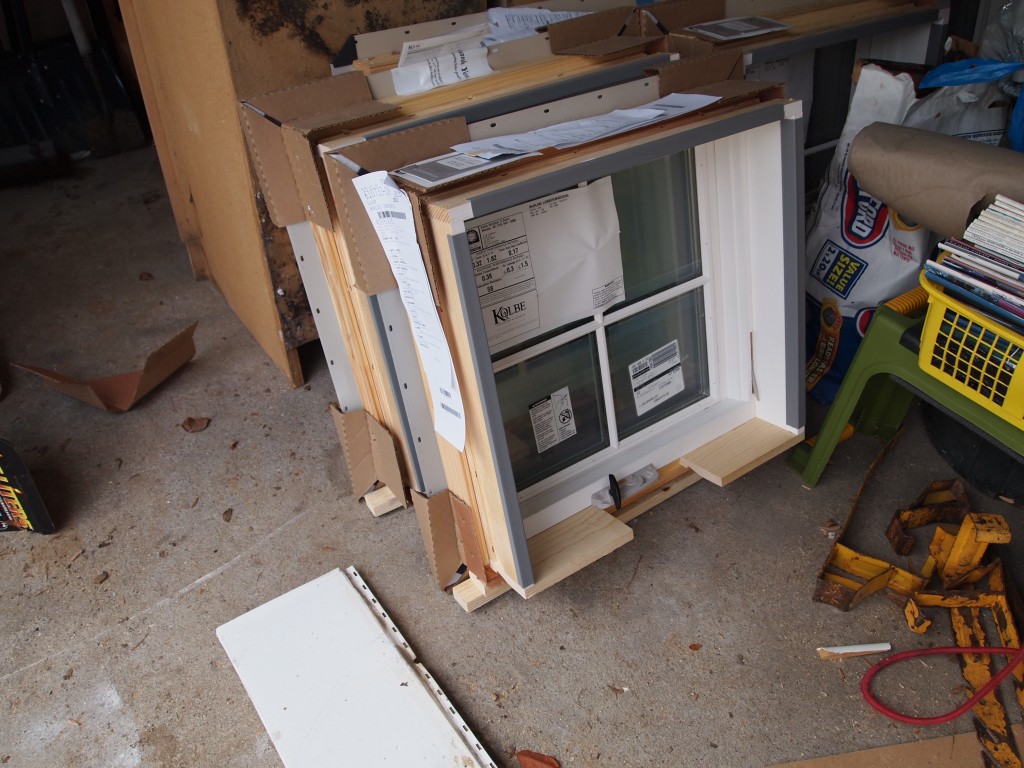
One of three small bedroom windows
Even though the box bay came with support brackets, Rick built out an additional box under the window for support and for a recess for the radiator. Now, even in the winter the greenhouse bay will be toasty.
Once the upstairs windows were in and the water shield cut away, the rooms no longer had that green glow.

Kitchen window installed
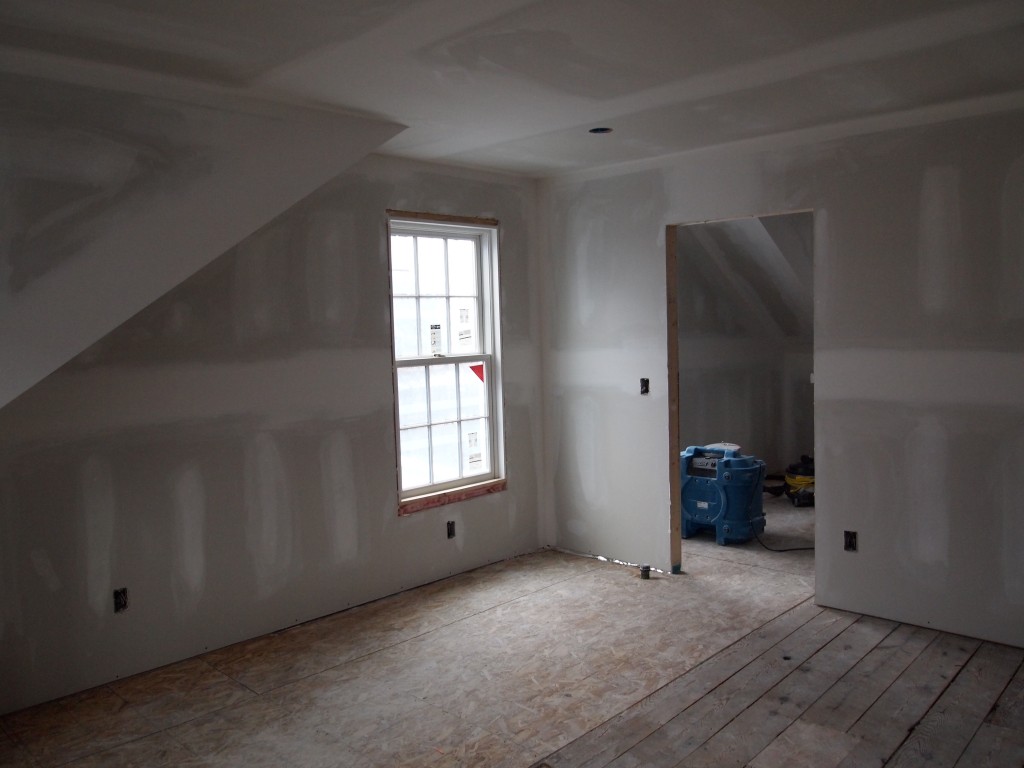
Bedroom double hung window in place

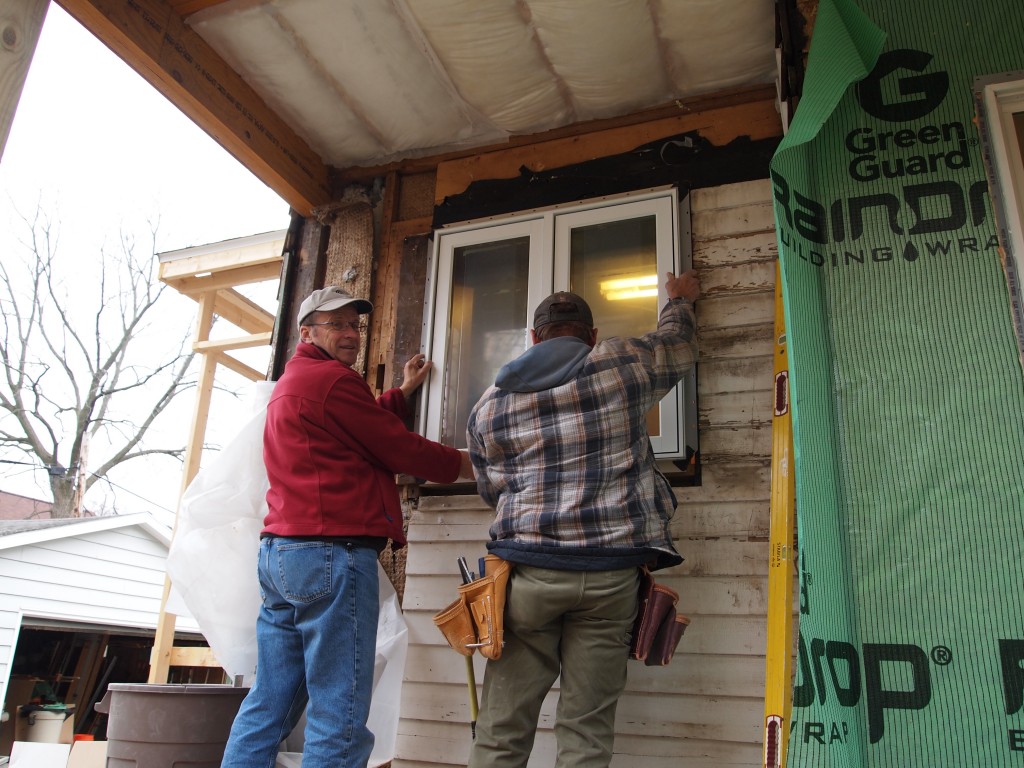
Rick and Mike installing the new window in the “old kitchen”
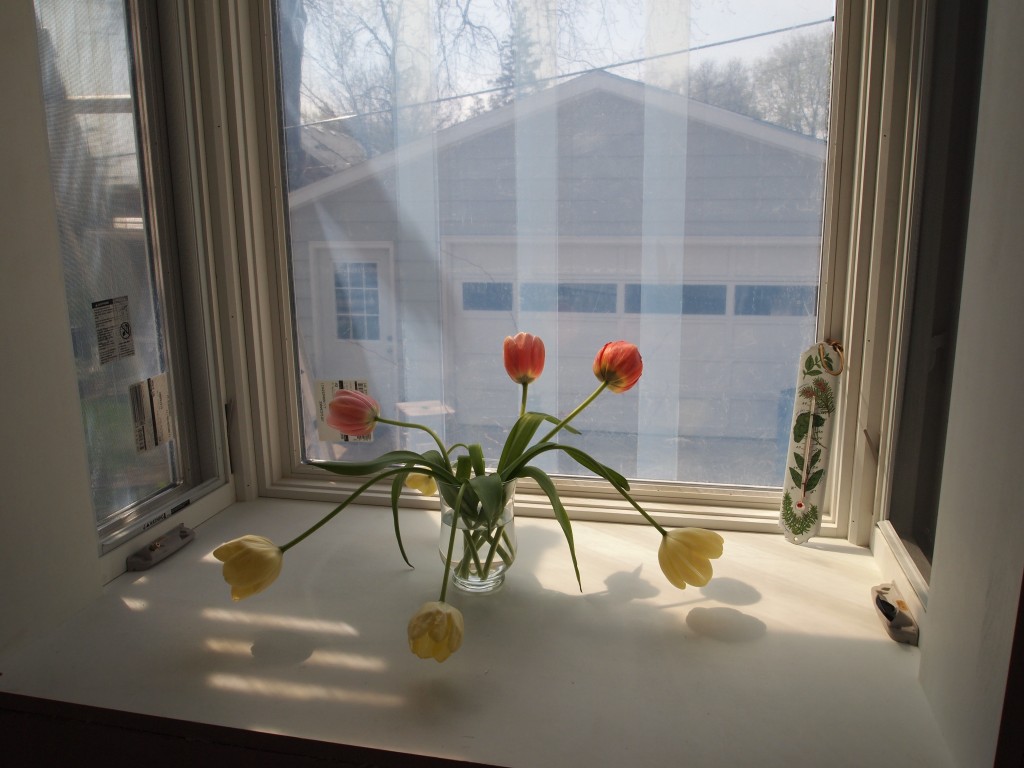
Tulips in the box bay were growing under the temporary deck on which Rick and Mike were standing. A taste of things to come.
Paint
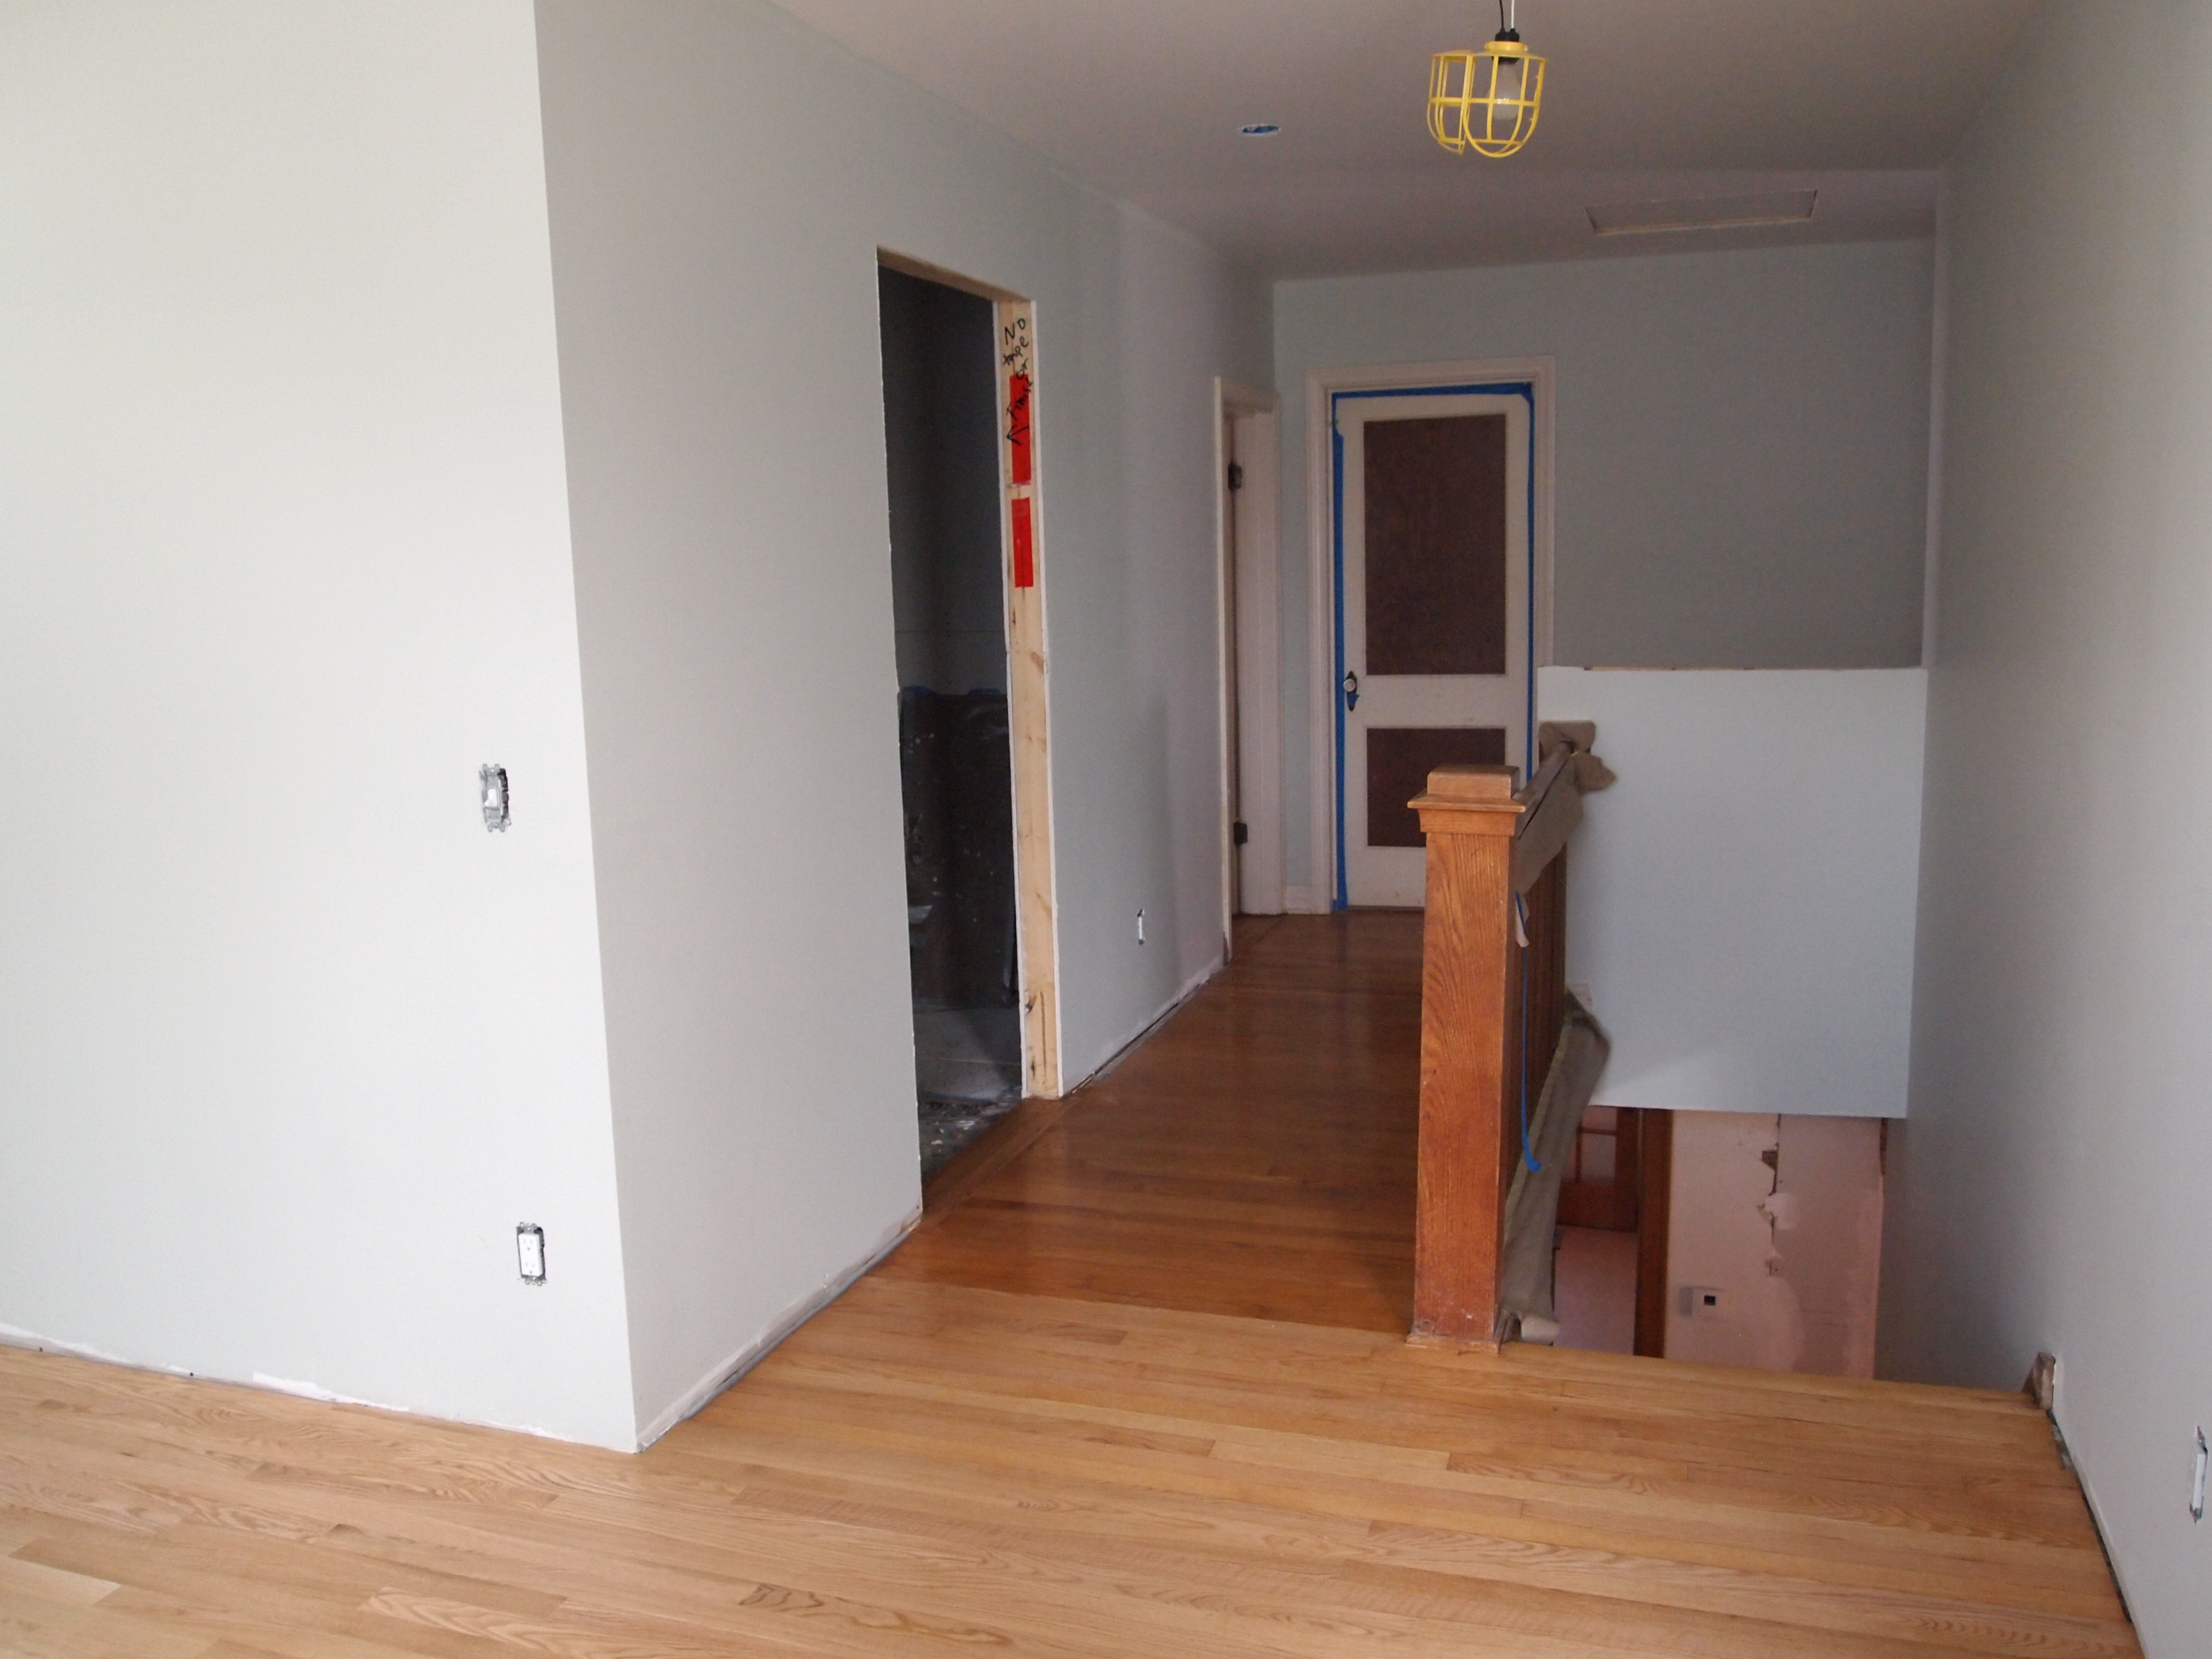
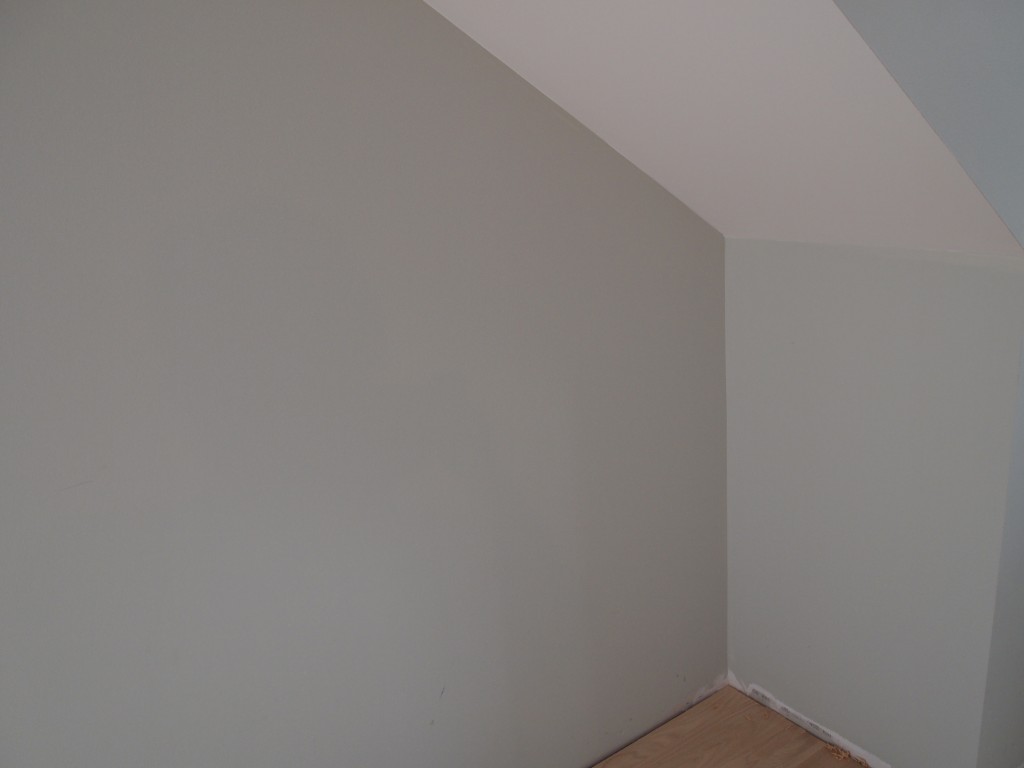
Fortunately, I had decided a long time ago to use a color for the upstairs rooms that I used in one of the downstairs rooms, Ashlar by Pratt and Lambert. I love the color because it changes with the light, sometimes grey, sometimes pale blue/green. Its a great color that acts as a neutral—everything goes with it. I’m not sure how well the colors will translate to the web page though, so you will have to take my word for it. On the stairway wall, I chose a much lighter grey color, Whitecap Grey, to make the transition to the downstairs hallway which is always very dark. Whitecap Grey looks almost the same as Ashlar in a corner, but looks almost white in the direct light. I still haven’t decided what to put in the hallway. All ceilings will be white.

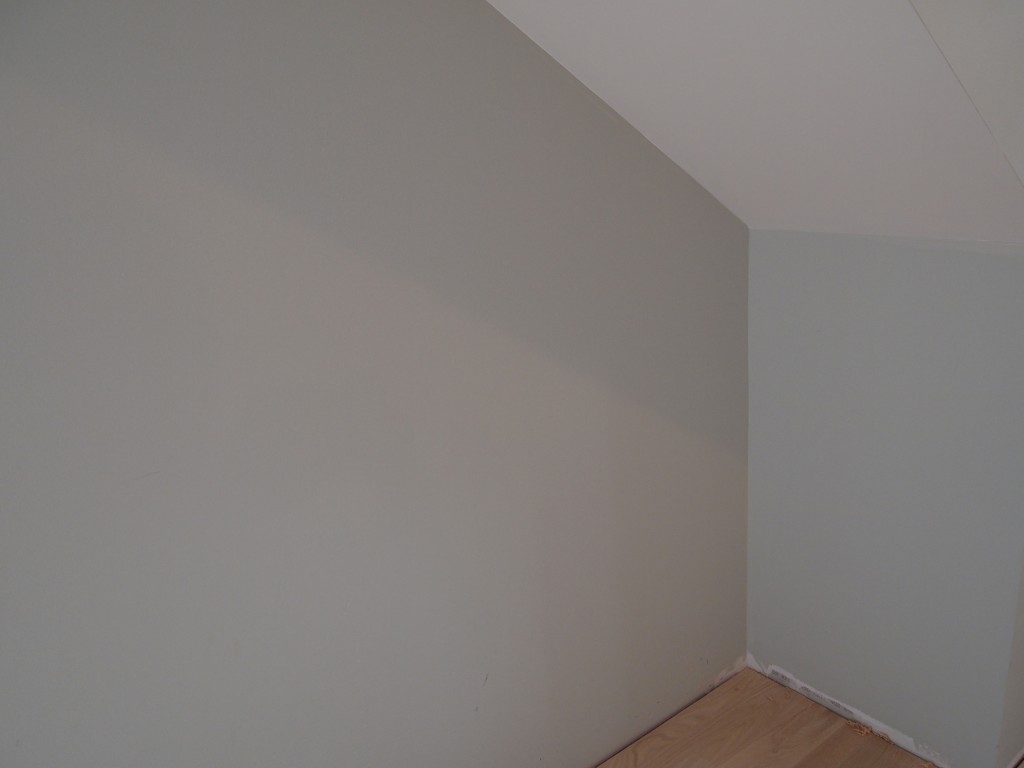
The upstairs paint color, Ashlar, looks different in different lighting conditions. The shadow is cast by the angled ceiling lit by an incandescent light.
Same view as above with the light off. See how blue that part in the upper right looks now in light from the windows to the right.
I wanted something a little lighter for the kitchen than for the rooms upstairs and couldn’t decide between two colors, Falling Tears or Sealskin Shadow. Under incandescent light you could hardly tell the difference, but Falling Tears had a little more blue/green in it. I asked my friend Sarah to help me decide, but even she, with her great sense of color, was undecided. Finally, I picked Falling Tears. I was gone for a while when the painters “cut in” the color and started painting the walls. What I saw when I got home was not what I expected. It didn’t look at all like the color I picked. And it wasn’t. The paint store had made a mistake and what was on the wall was a minty aqua! The picture below doesn’t really show how “minty” it was.
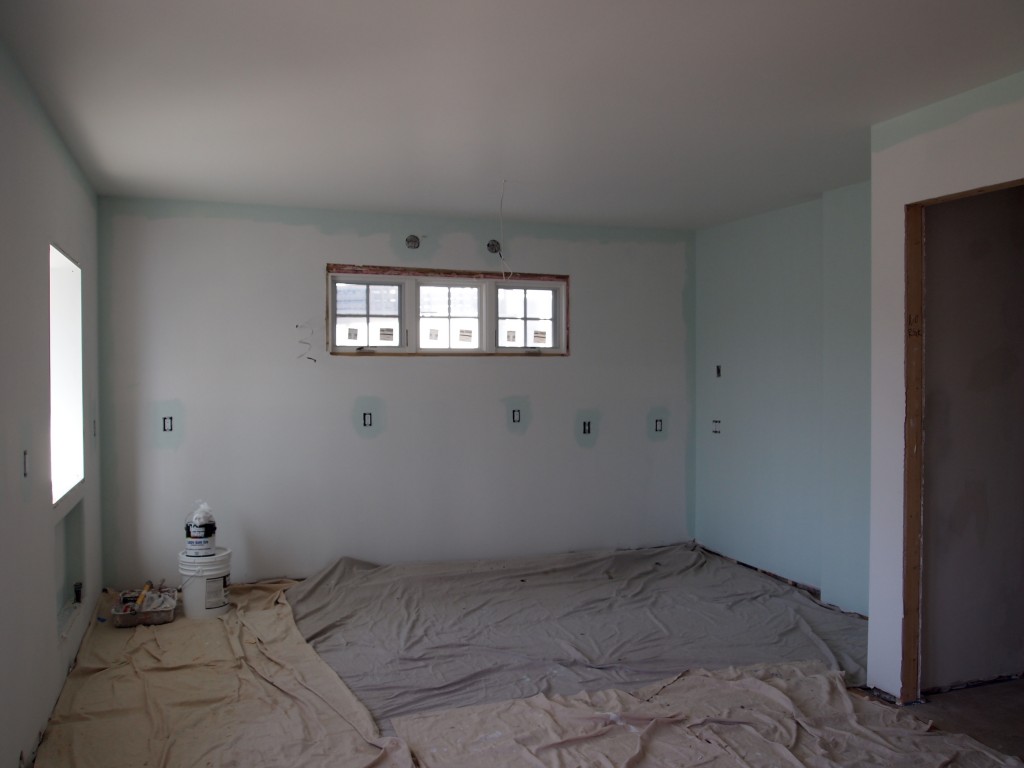
Falling Tears, mixed wrong, became a minty green

Sealskin Shadow is the right color
Bill, the painter, and I agreed to go with Sealskin Shadow, a light warm grey with a little green in it. It looks beautiful and I smile every time I see it.
Next up the exterior siding and the floors. Hint, both are gorgeous.